
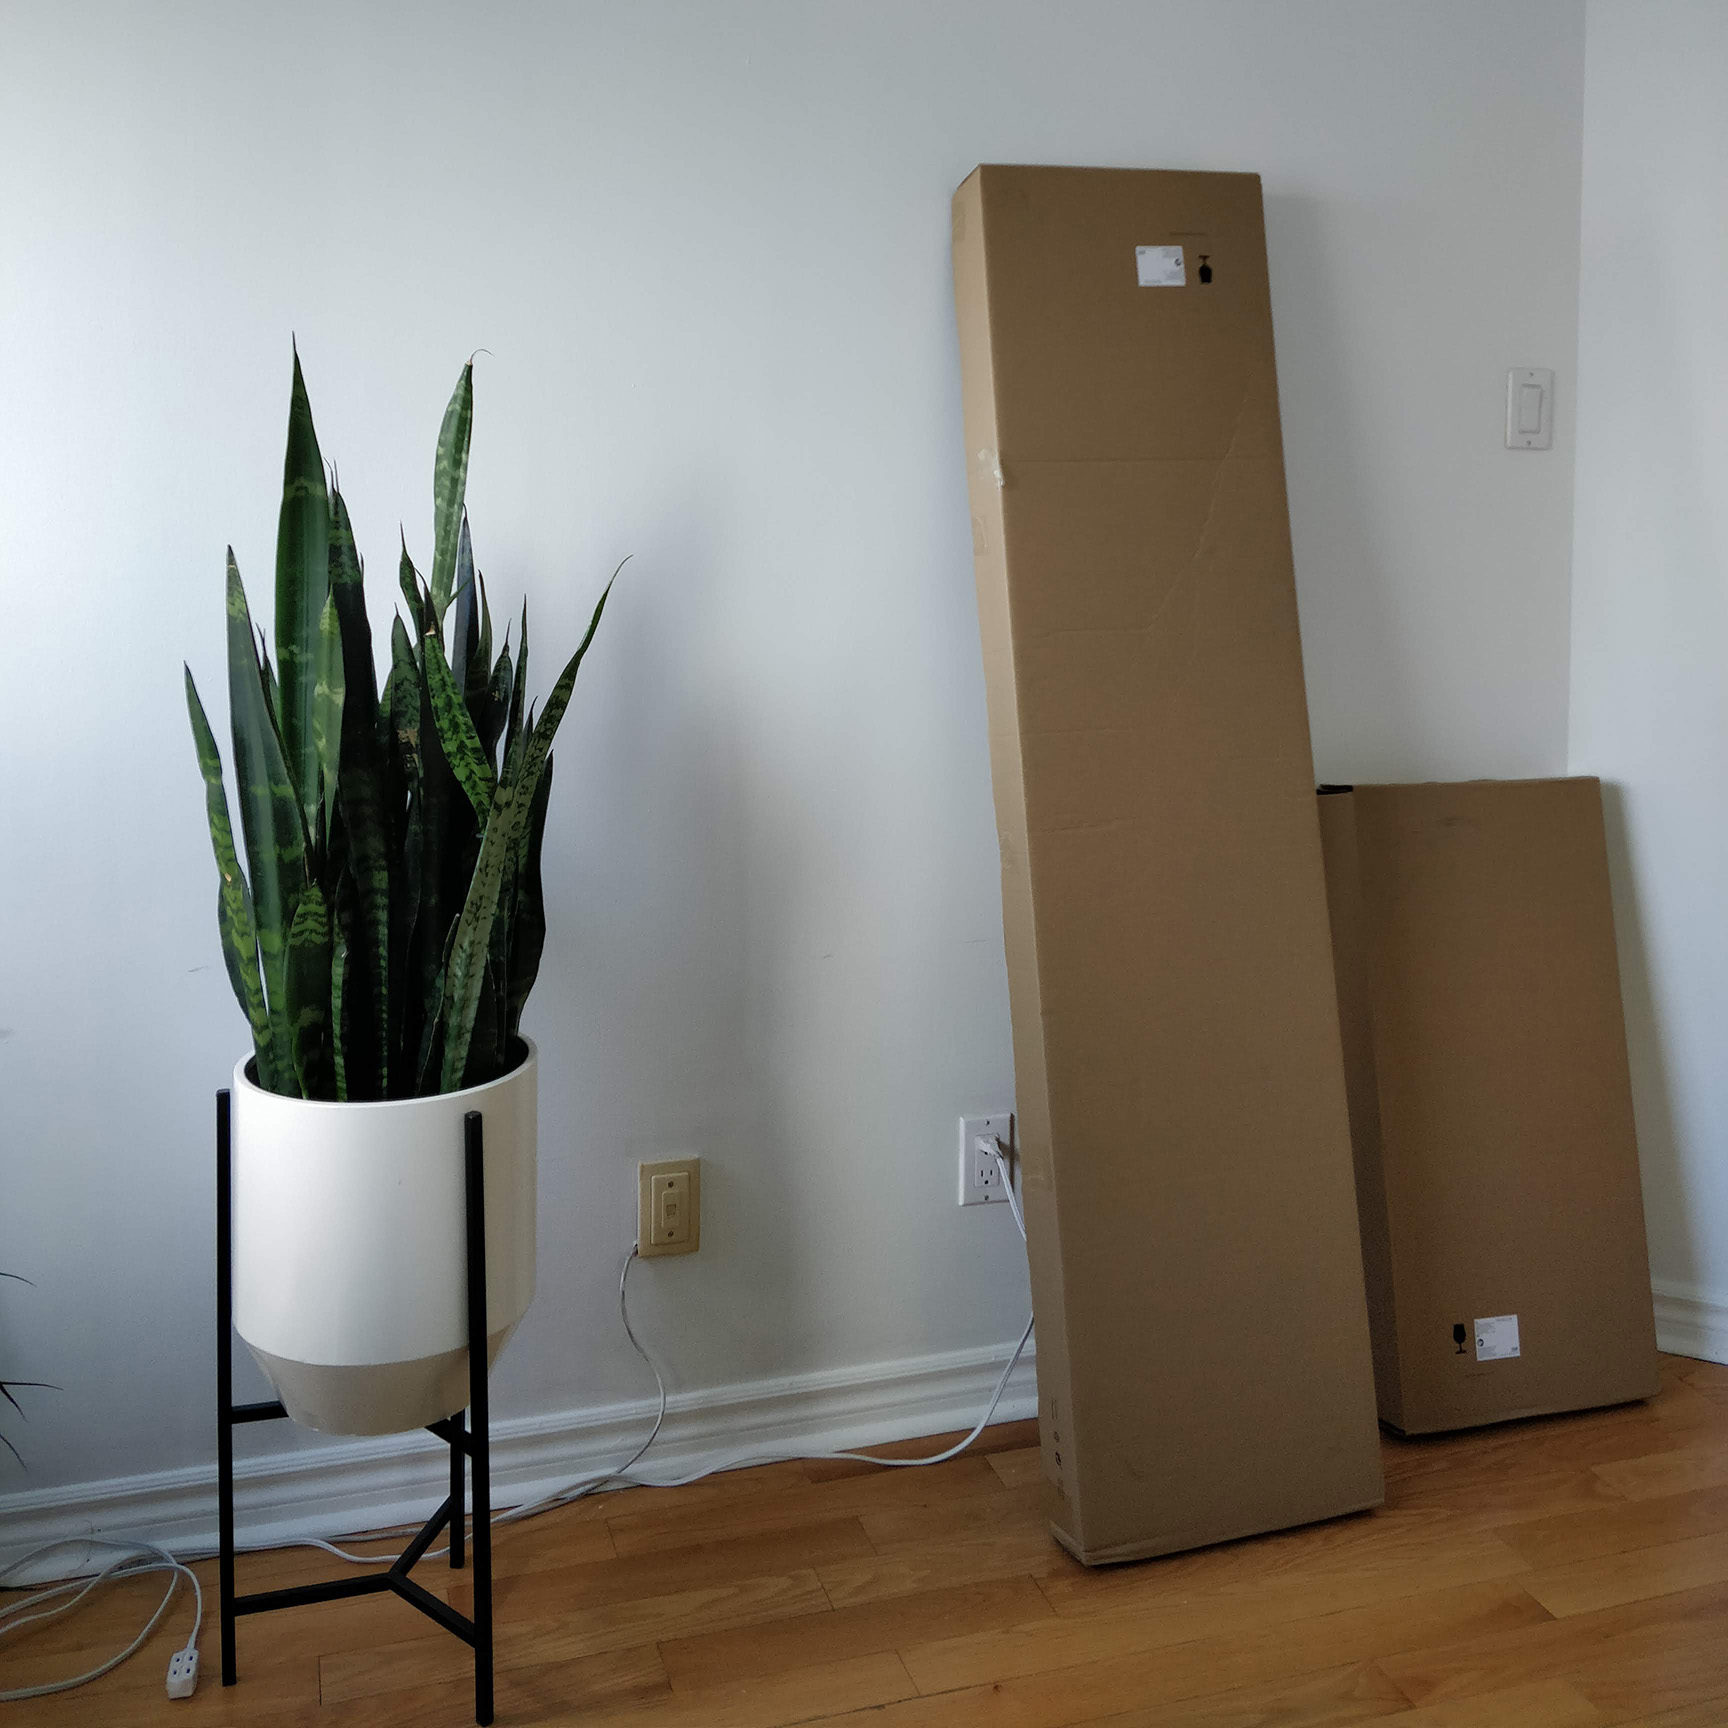
Yes, I’ve jumped in on the trend of keeping high humidity aroids in a modified Ikea cabinet. I even felt a bit late since the Milsbo cabinet had been out of stock for a couple weeks when I decided I wanted to give this a try – and on the day they came back in stock, half were sold by the time I got to the store!
Disclaimer: this article contains affiliate links that help to support House Plant Journal content ~ Thank You!
Product Summary (links where applicable):
Hole saw drill bit attachment
Cable grommet – white (hole cover)
Wood, white spray paint, wood screws, metal brackets (found at your local hardware store)
Double-sided nano tape
Zip ties
Grow Lights: Barrina 2-foot LED (4-pack)
Light Meter
Thermometer/Hygrometer
Foam Tape (I used both 1/8″ and 1/4″ thickness tapes depending on how wide the gaps were)
Mini USB Fan (White)
USB Wall Plug Adapter
Cable Management Box
Timer/Power Bar
Gridwall Panel – [US] [CAN] I’m using a chrome 2’x4′ sized panel
Gridwall Wire Basket – [US] [CAN] These aren’t the exact ones I have but they’ll work on the Gridwall panel
I drew much inspiration from the Instagram account @ikeagreenhousecabinet – seeing all the modifications resulting in truly unique cabinet gardens really piqued my interest!
Remember: don’t take what I’m saying here as rules – they are suggestions. Besides, part of the fun is experimenting as long as you have a solid understanding of how plants work. By the way, if you’re looking to gain a better foundation on plant care instead of feeling as if you have to follow a bunch of random (and sometimes conflicting rules), check out my online course here.
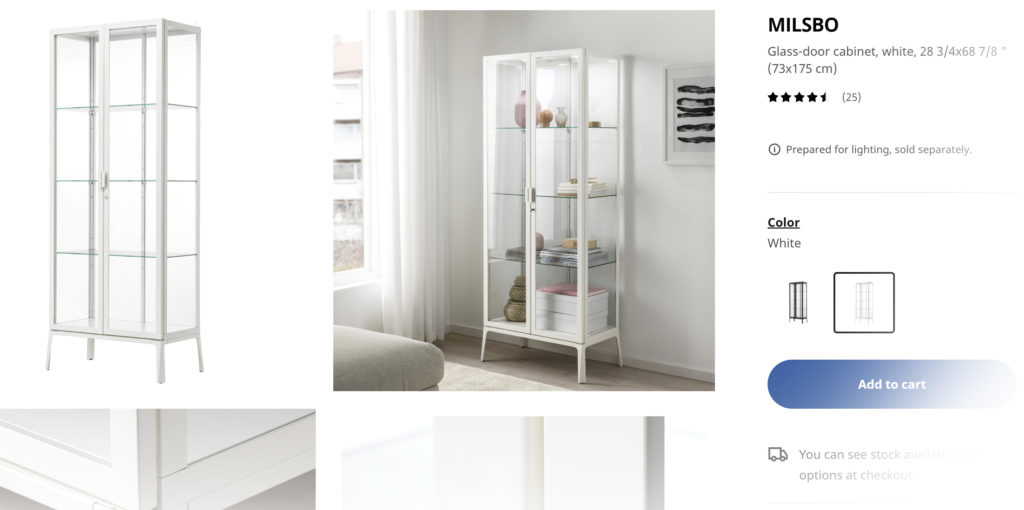
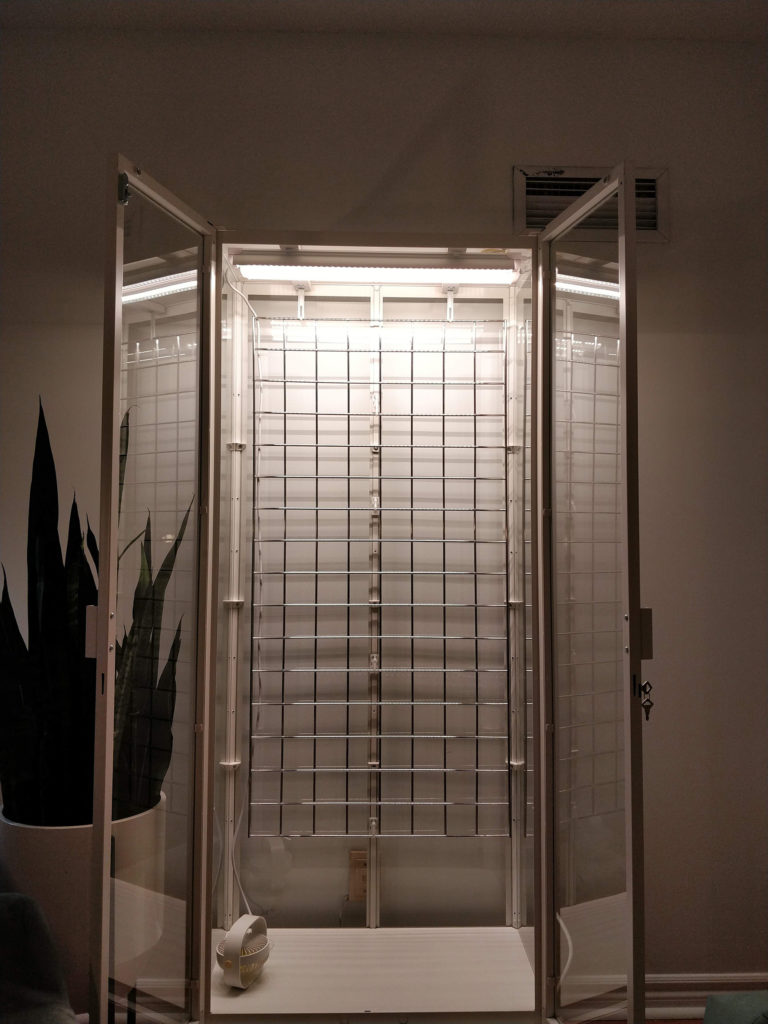
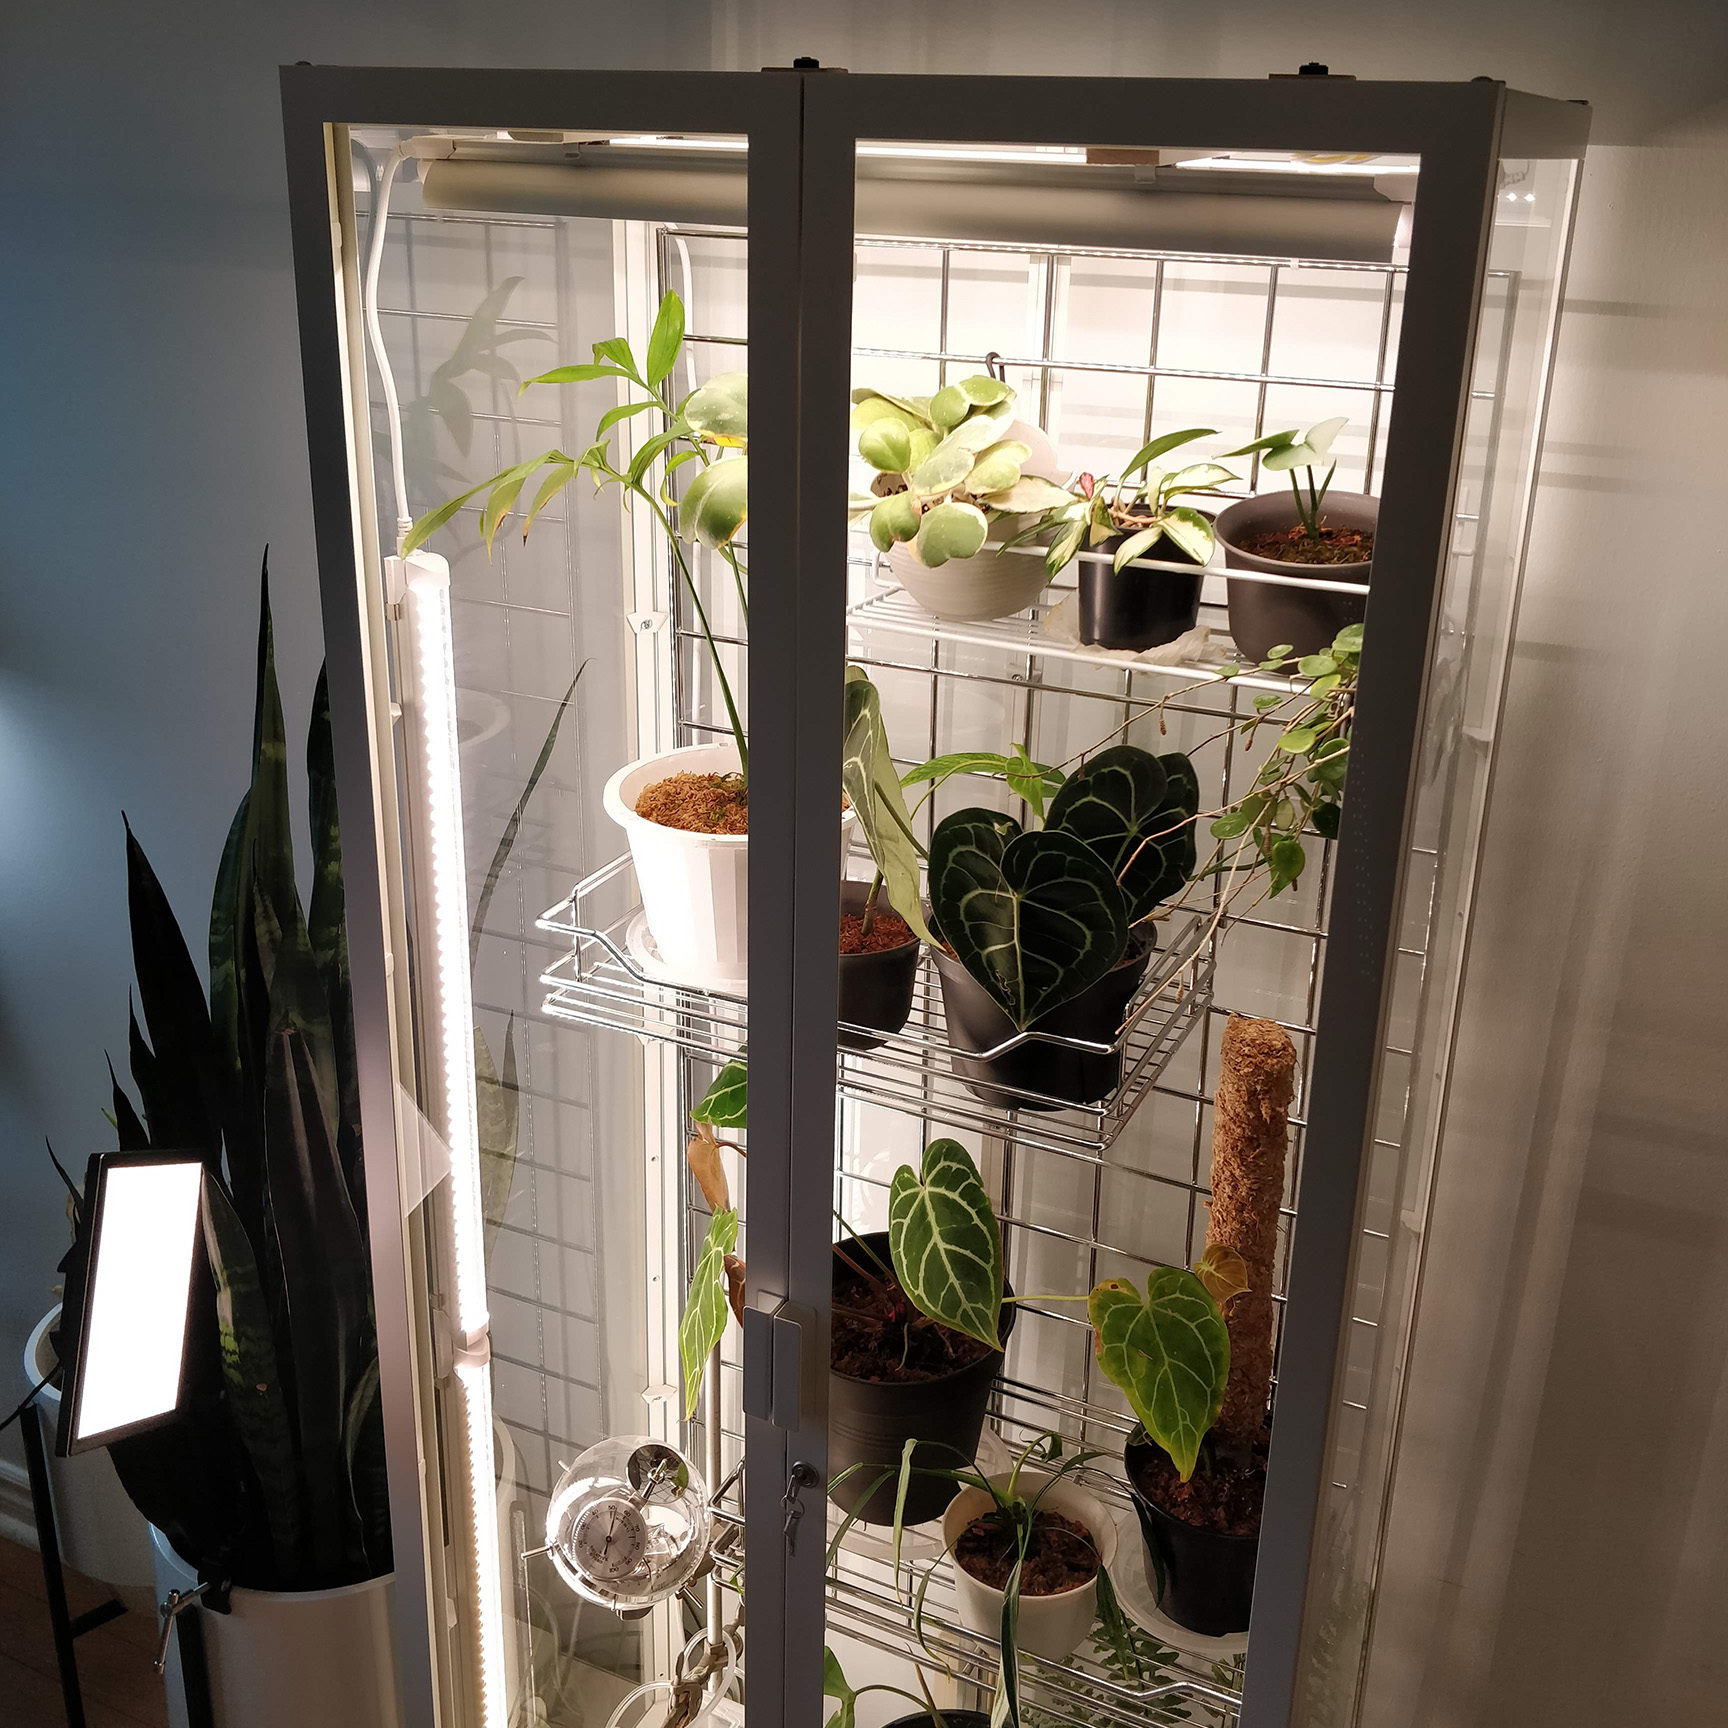
The Cabinet: Milsbo Glass-Door Cabinet
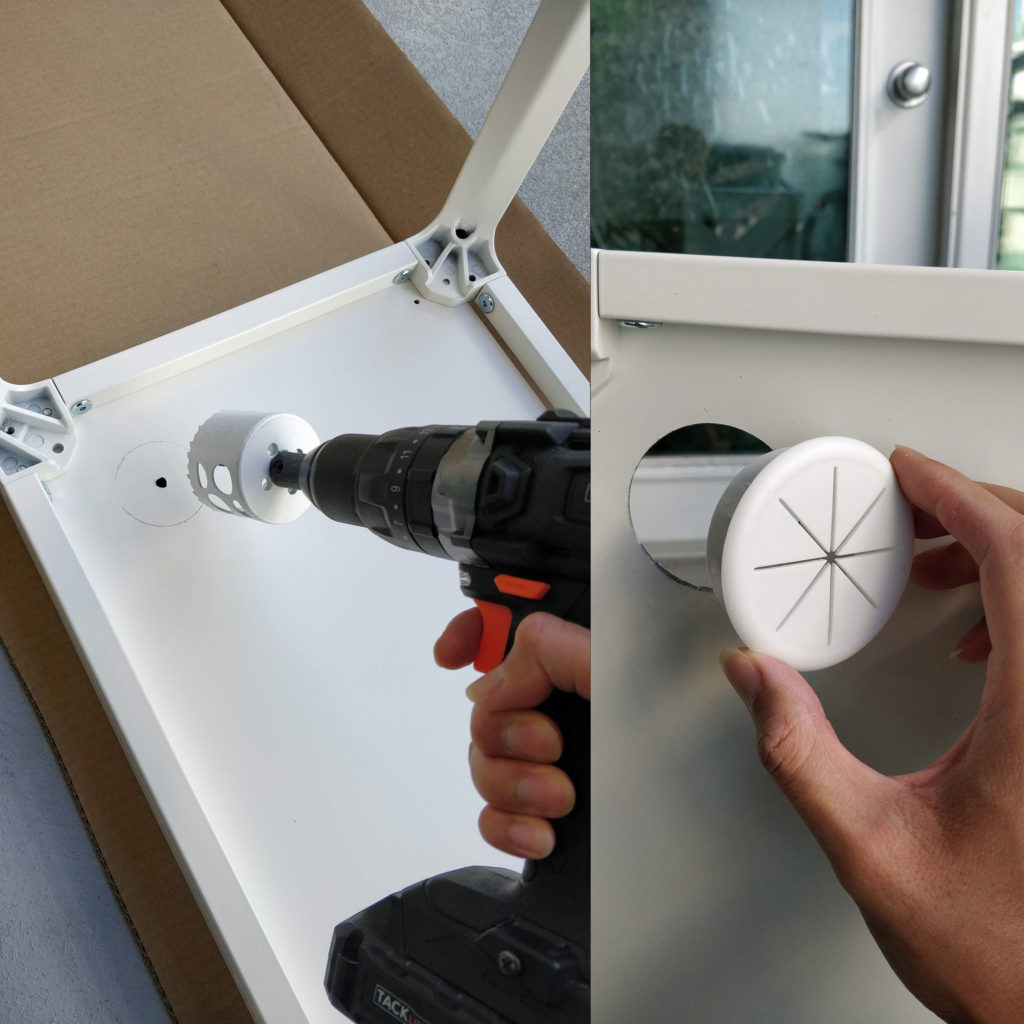
Mod 1: Cable Access Port
Before assembling the cabinet, I drilled holes through the two bottom metal plates for a cable access port. Using a hole saw and relatively low powered drill, I managed to cut through the two layers of metal in about 10 minutes – it can definitely be done faster with a more powerful drill!
Products:
Cable grommet – white (hole cover)
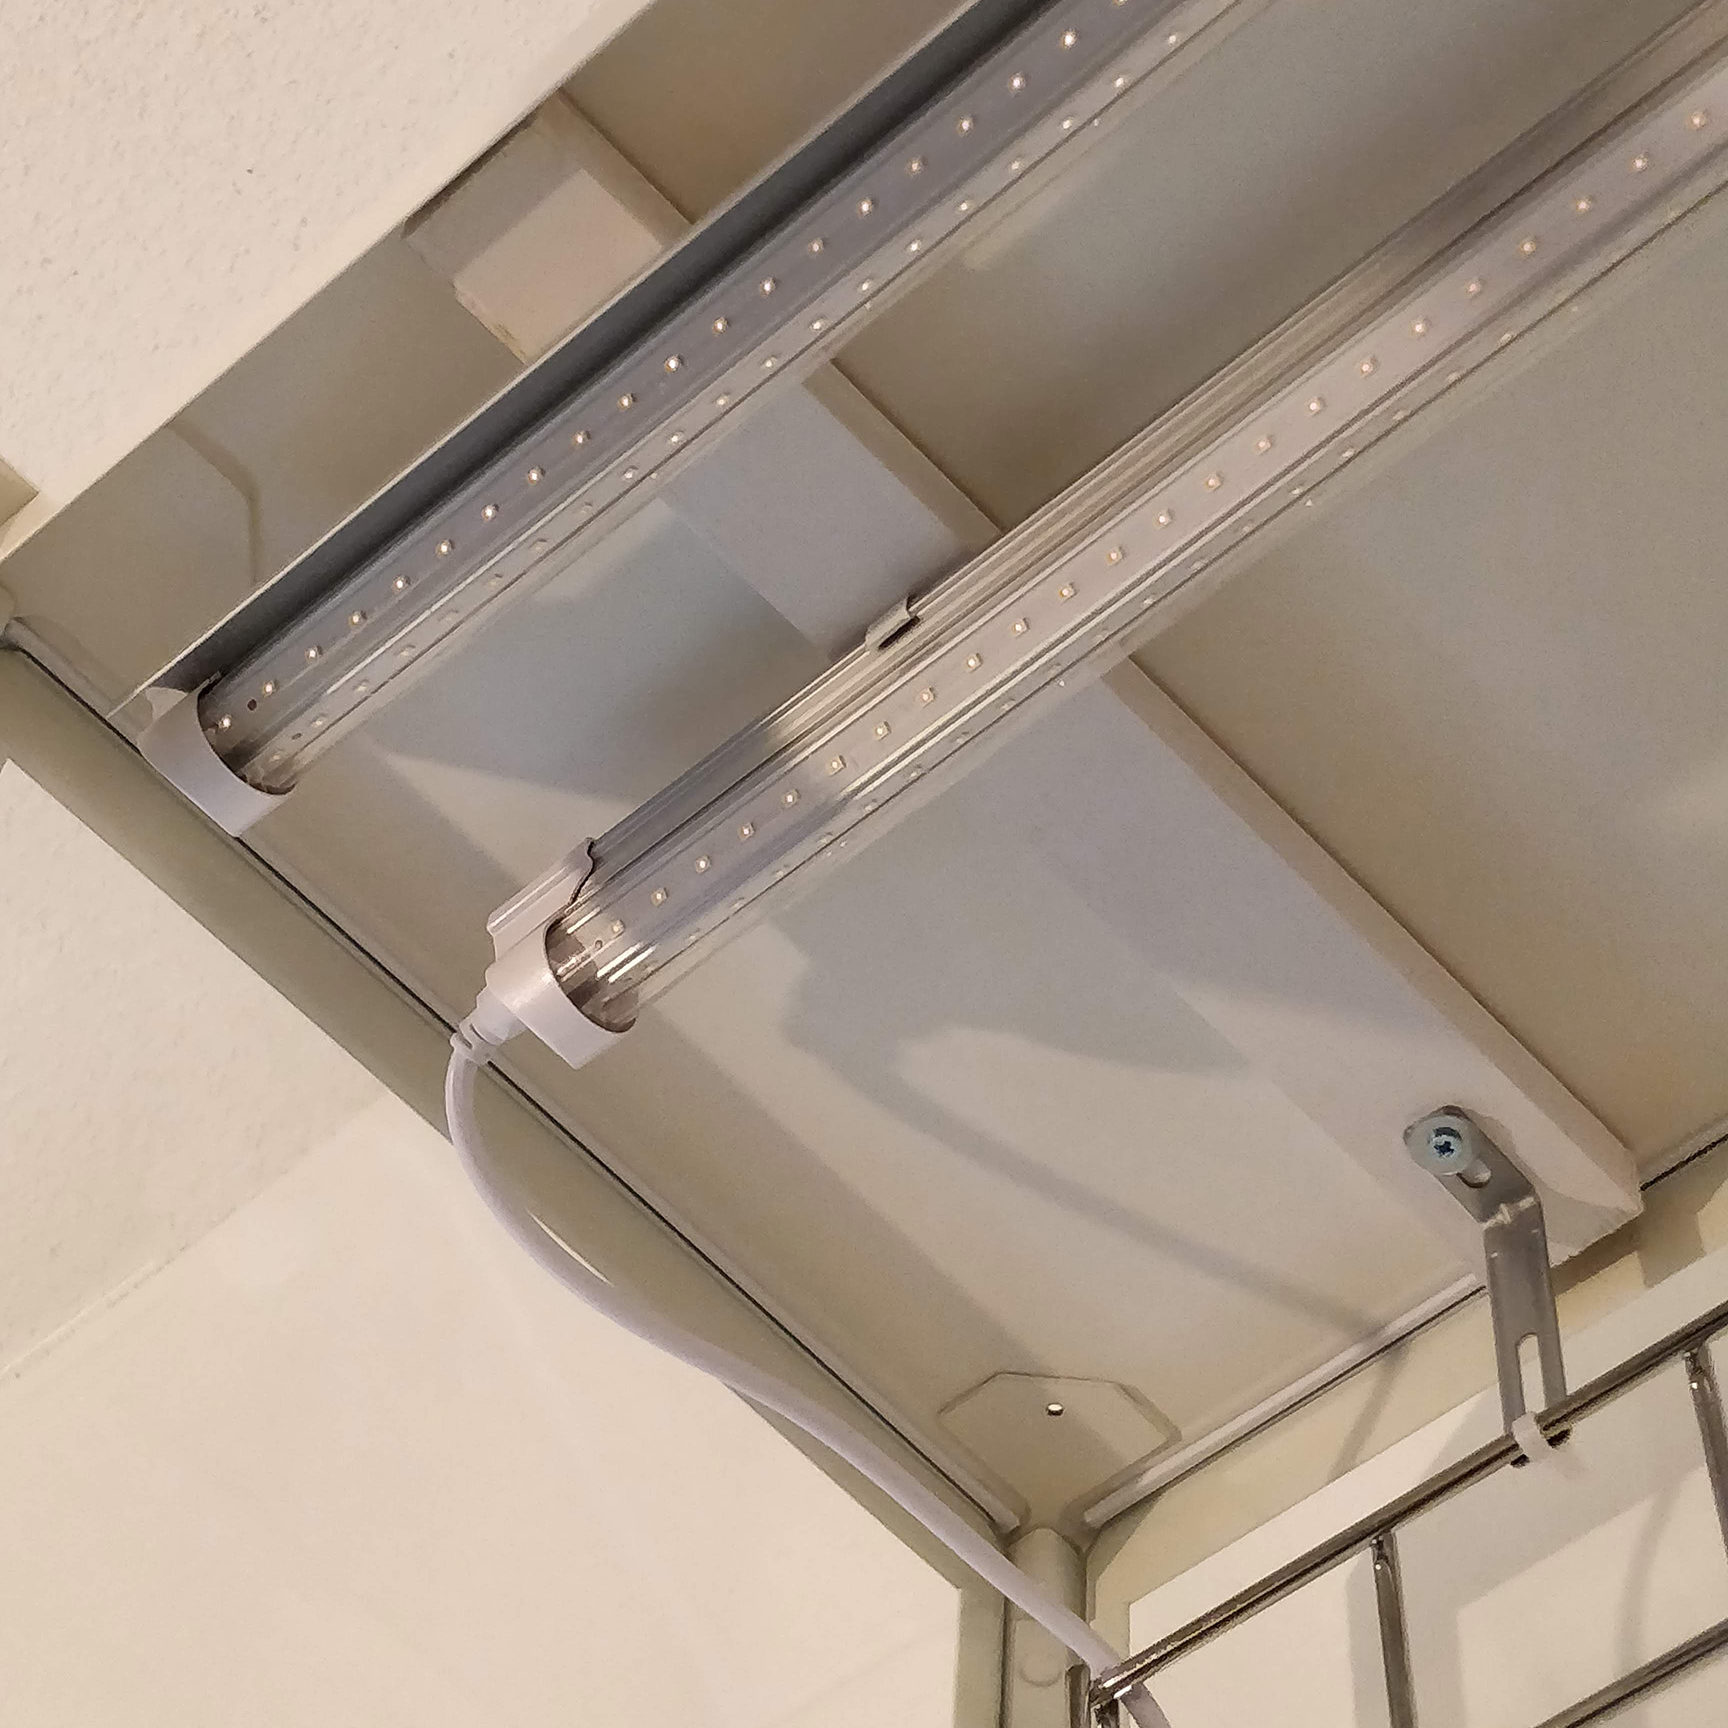
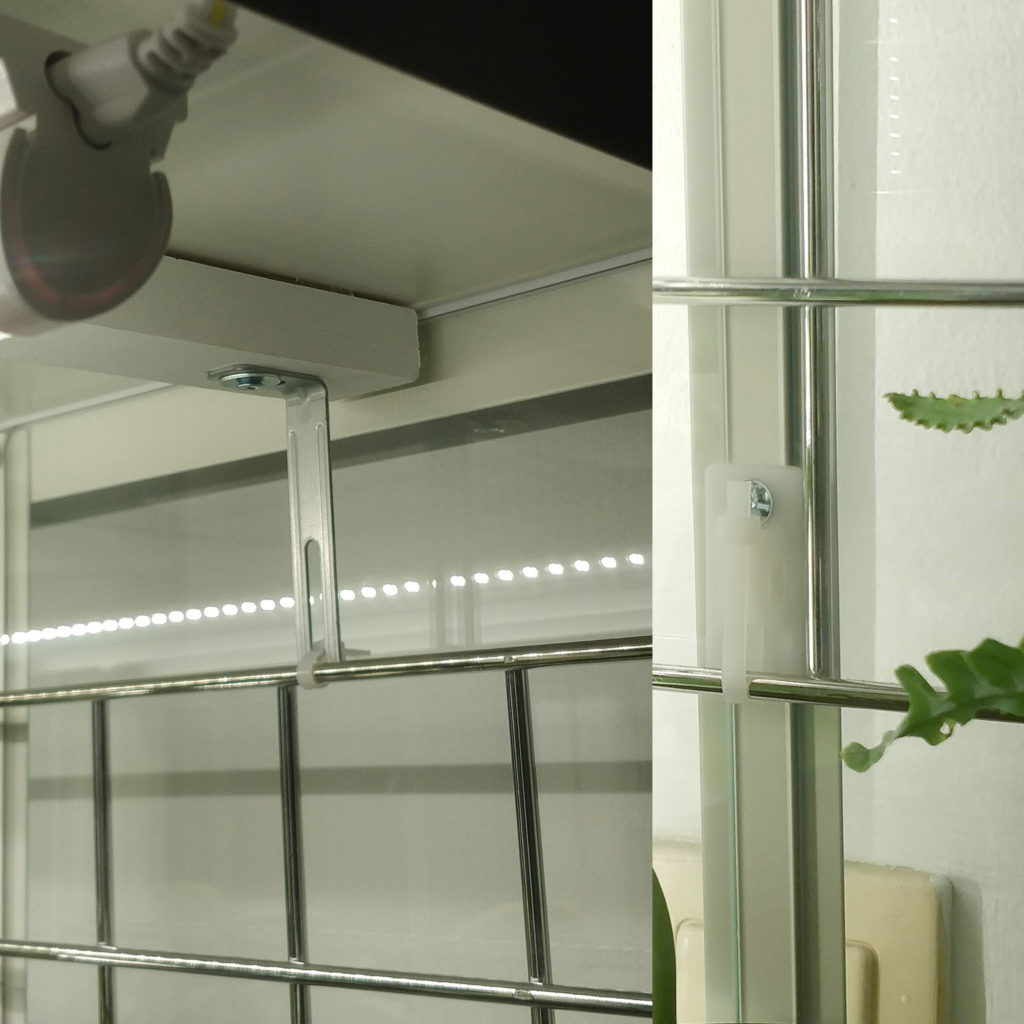
Mod 2: Overhead Supports
I cut two pieces of lumber to fit most of the depth of the cabinet and spray painted them white. They were secured to the underside of the roof with the double sided thick tape *AND* wood screws going through the pre-drilled holes (normally for the cabinet lighting).
Products: most can be found at hardware stores
Wood, white spray paint, wood screws, metal brackets.
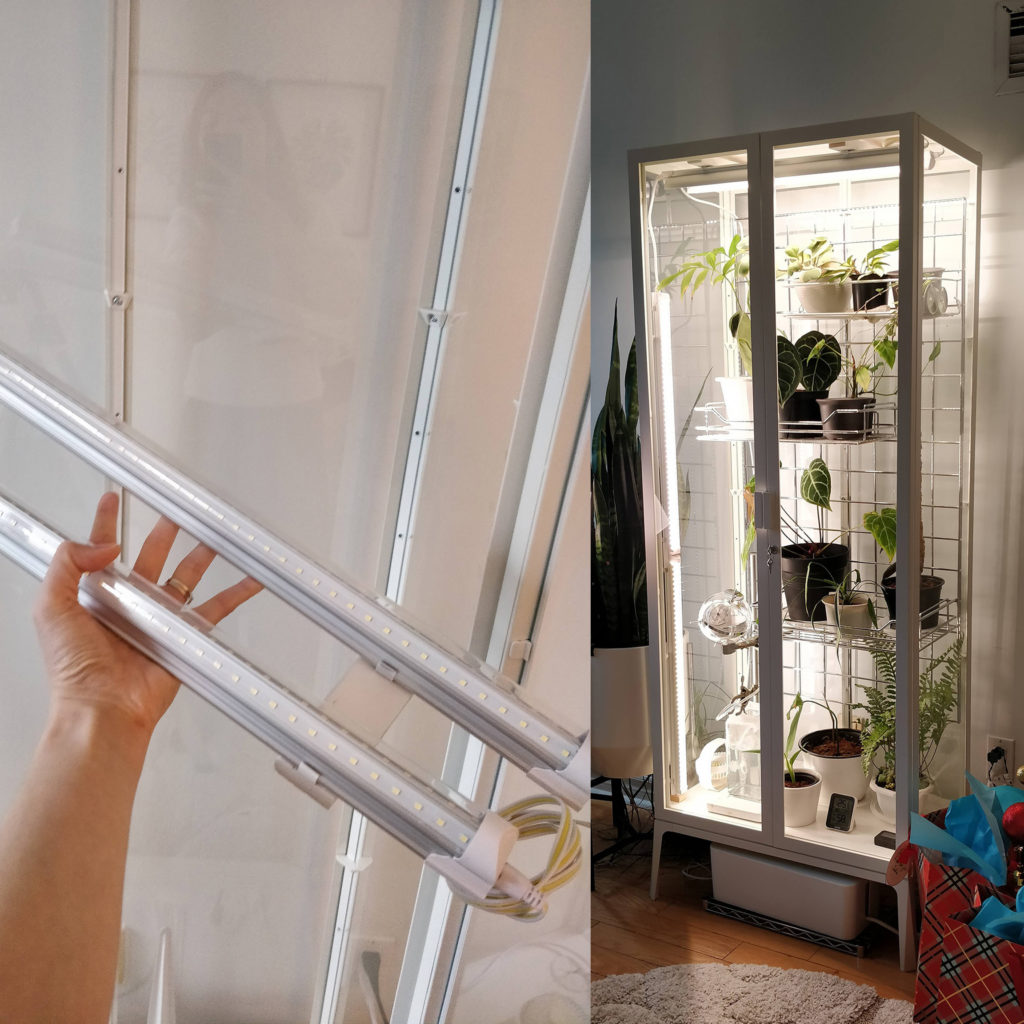
Mod 3: Lighting
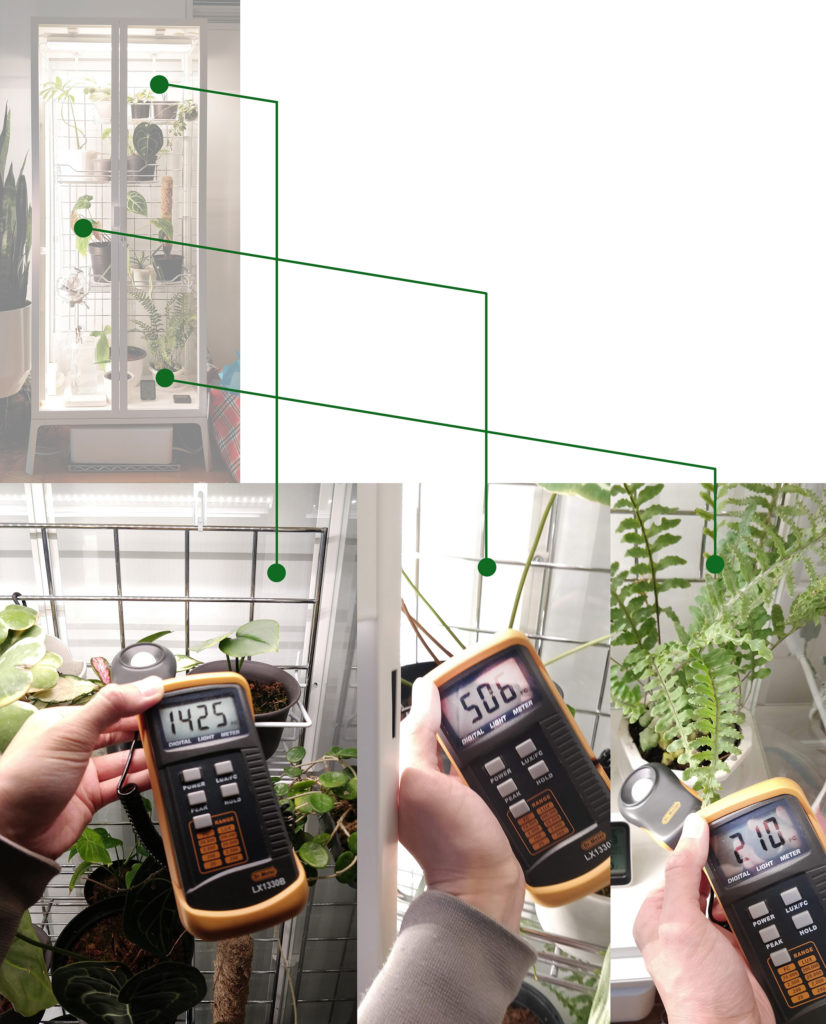
Light makes the whole plant system work! And the best thing about these aroids is their rather modest light requirements: 200 – 800 foot-candles (FC) for 12 hours works fine. Compare that to agricultural plants that need much higher-powered (and more expensive) lights producing upwards of 2000 FC.
Products:
Grow Lights: Barrina 2-foot LED (4-pack)
List of common houseplants and their grow light strength requirements – HERE
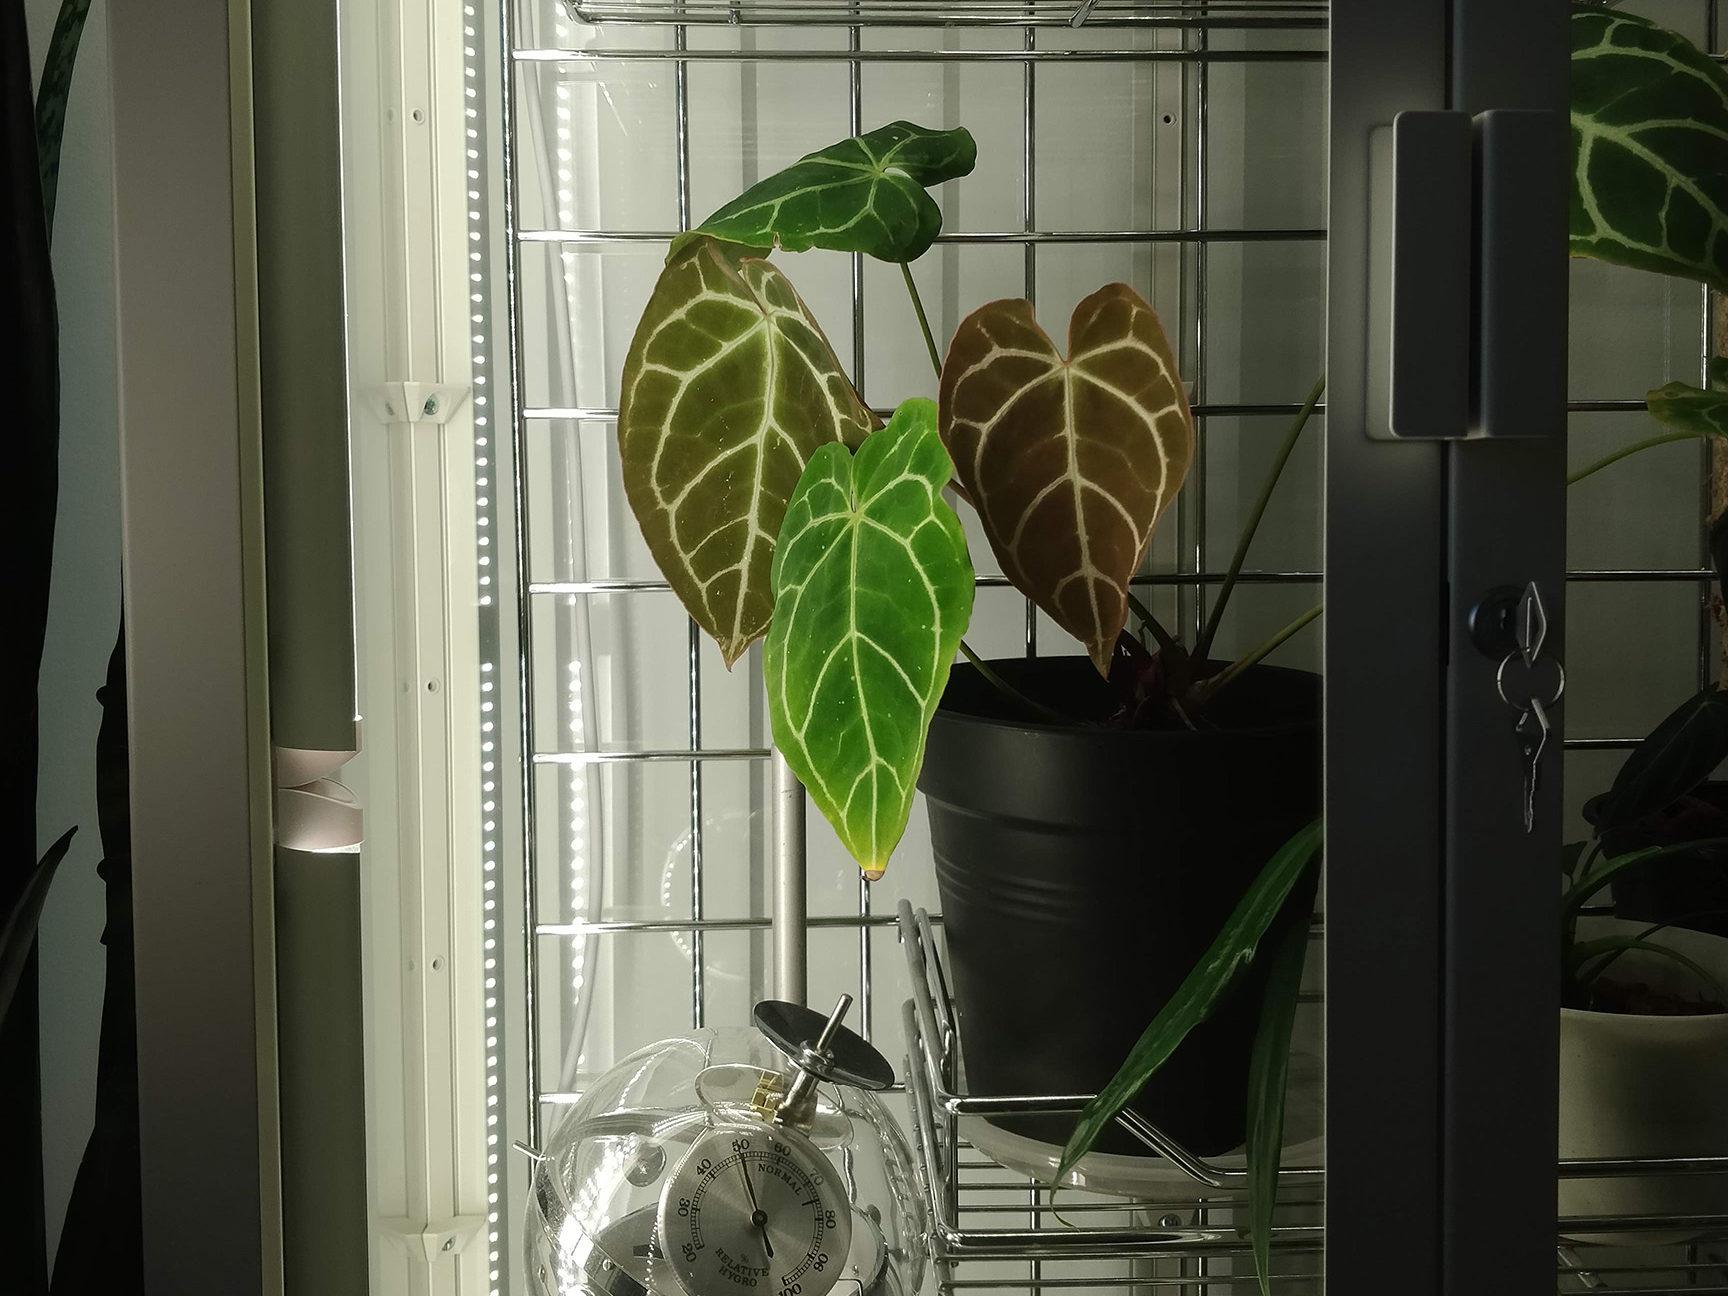
Mod 4: Environmental Controls
After knowing your light, knowing the temperature and humidity are essential – a thermometer/hygrometer is a must! I have not yet invested in a humidifier but with the sealing of the cracks between the doors with foam tape, the cabinet humidity gets to around 50-60% at 24 degrees C when everything is freshly watered. Over the course of roughly a week, the cabinet humidity gets down to 40%, which is still better than the regular ambient (winter) humidity of 30%. When I eventually get a humidifier, I’ll probably set it to stay at 60%.

Products:
Foam Tape (I used both 1/8″ and 1/4″ thickness tapes depending on how wide the gaps were)
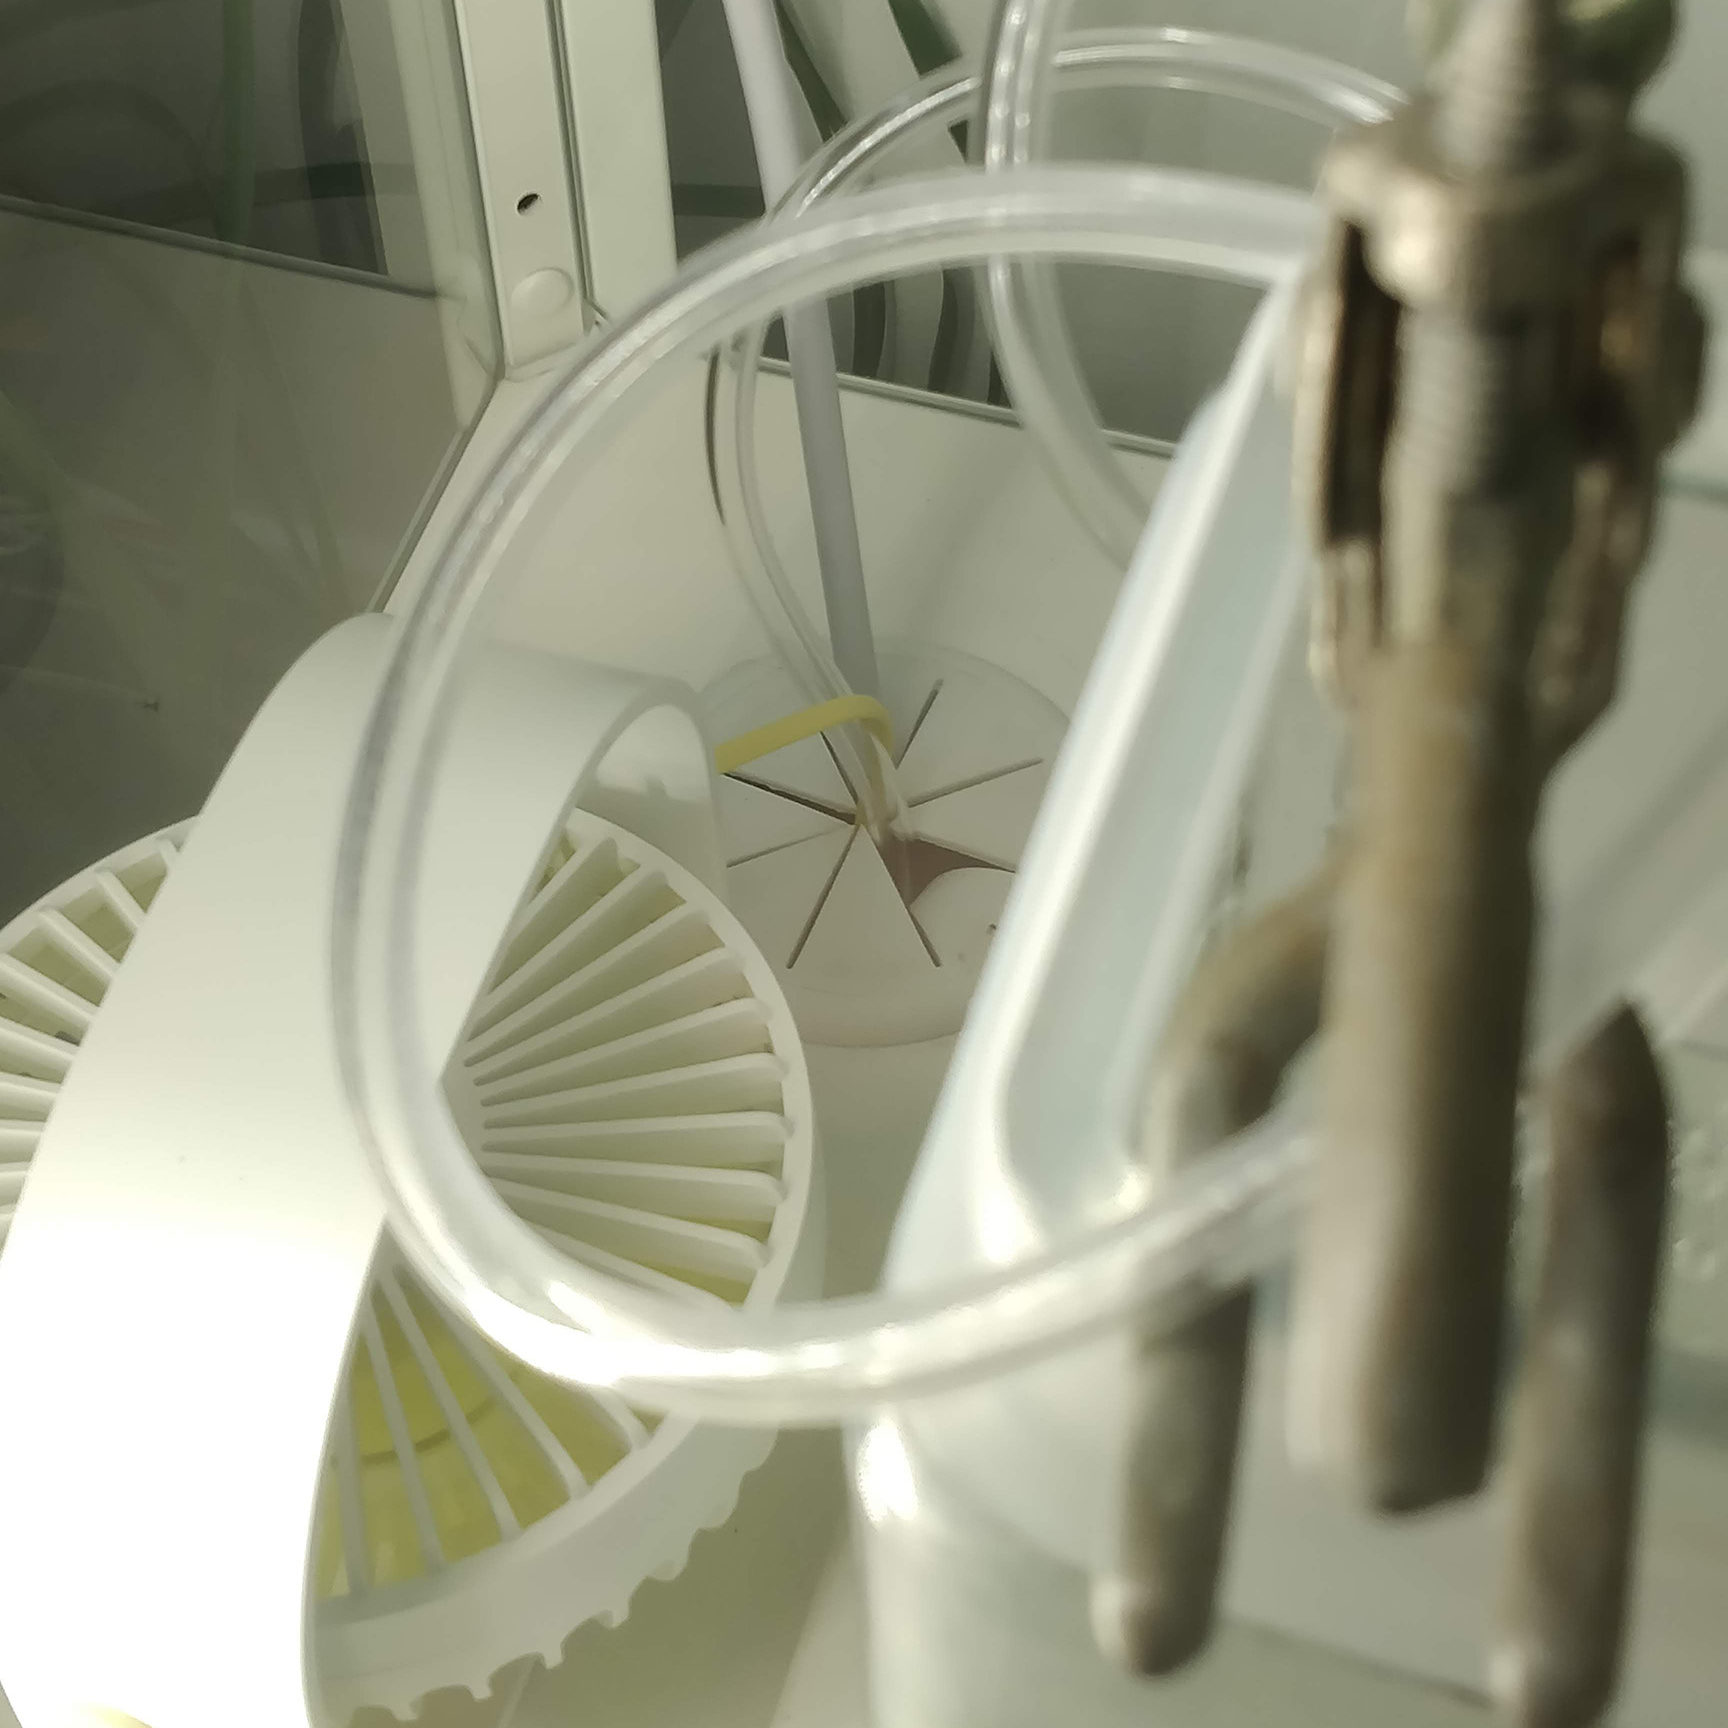
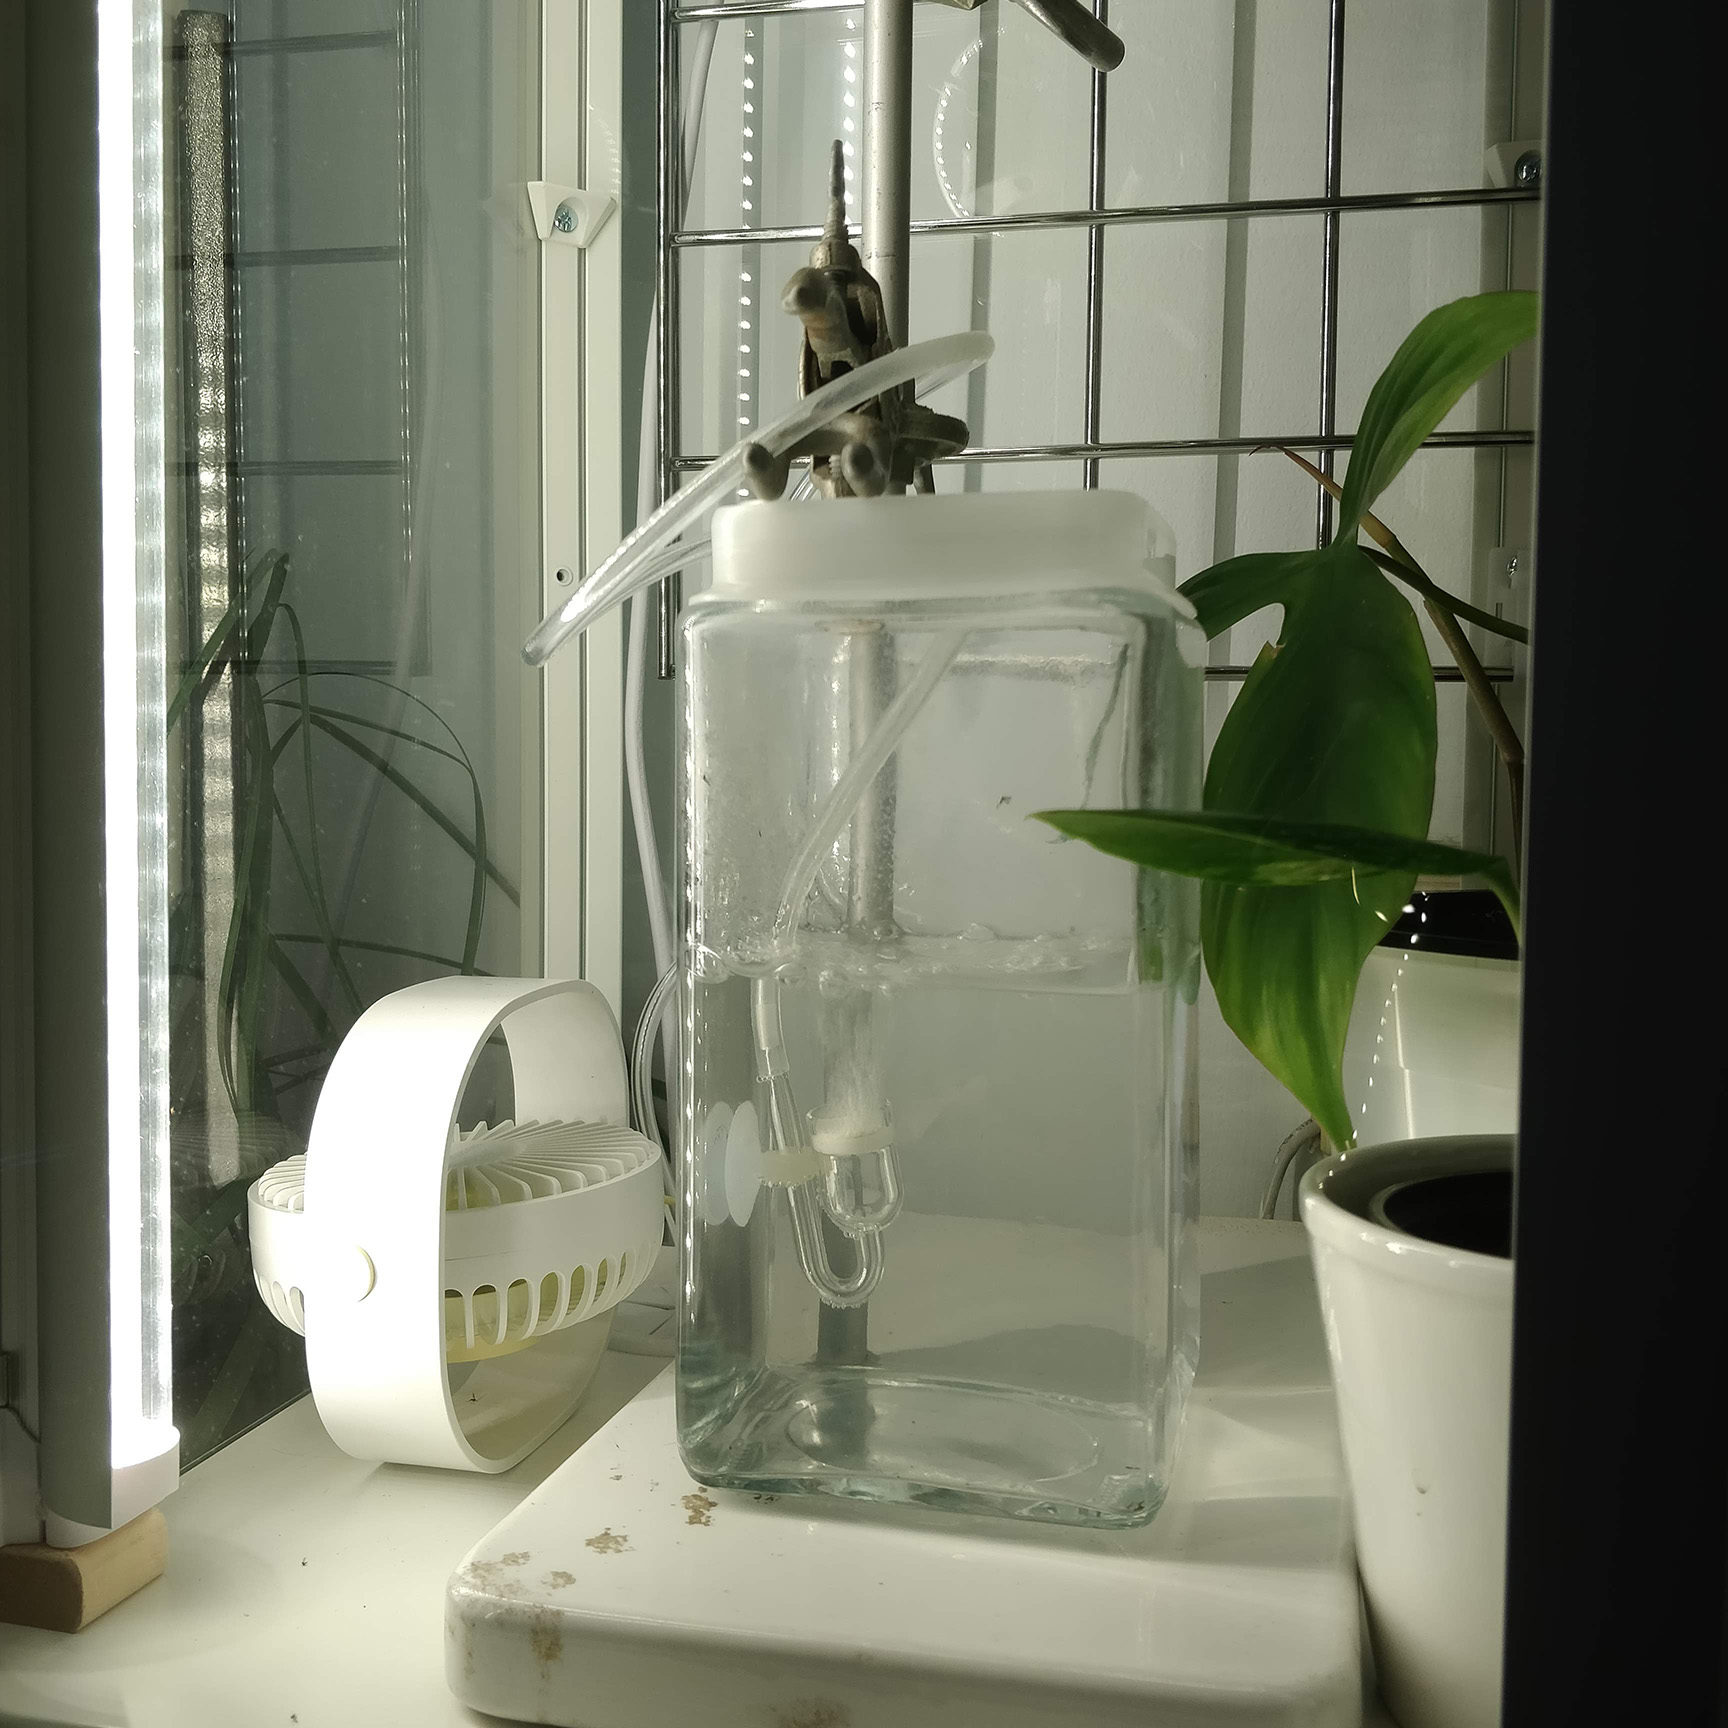
Air movement is important to prevent the development of mold, which can easily happen in humid and stale environments – one small USB fan seems to do the job for the entire cabinet! As I don’t have a humidifier yet, I wanted to experiment with bubbling water…it raises the humidity a tiny bit. Humidifier would work much better.
Products:
Mod 5: Cable Management
A big part of convincing my wife to let me do this greenhouse cabinet thing was to make sure it was neat and tidy. And visible wires are the ultimate destroyer of tidiness! The cable management box worked so well, I’ve started using them all around my home.

Products:
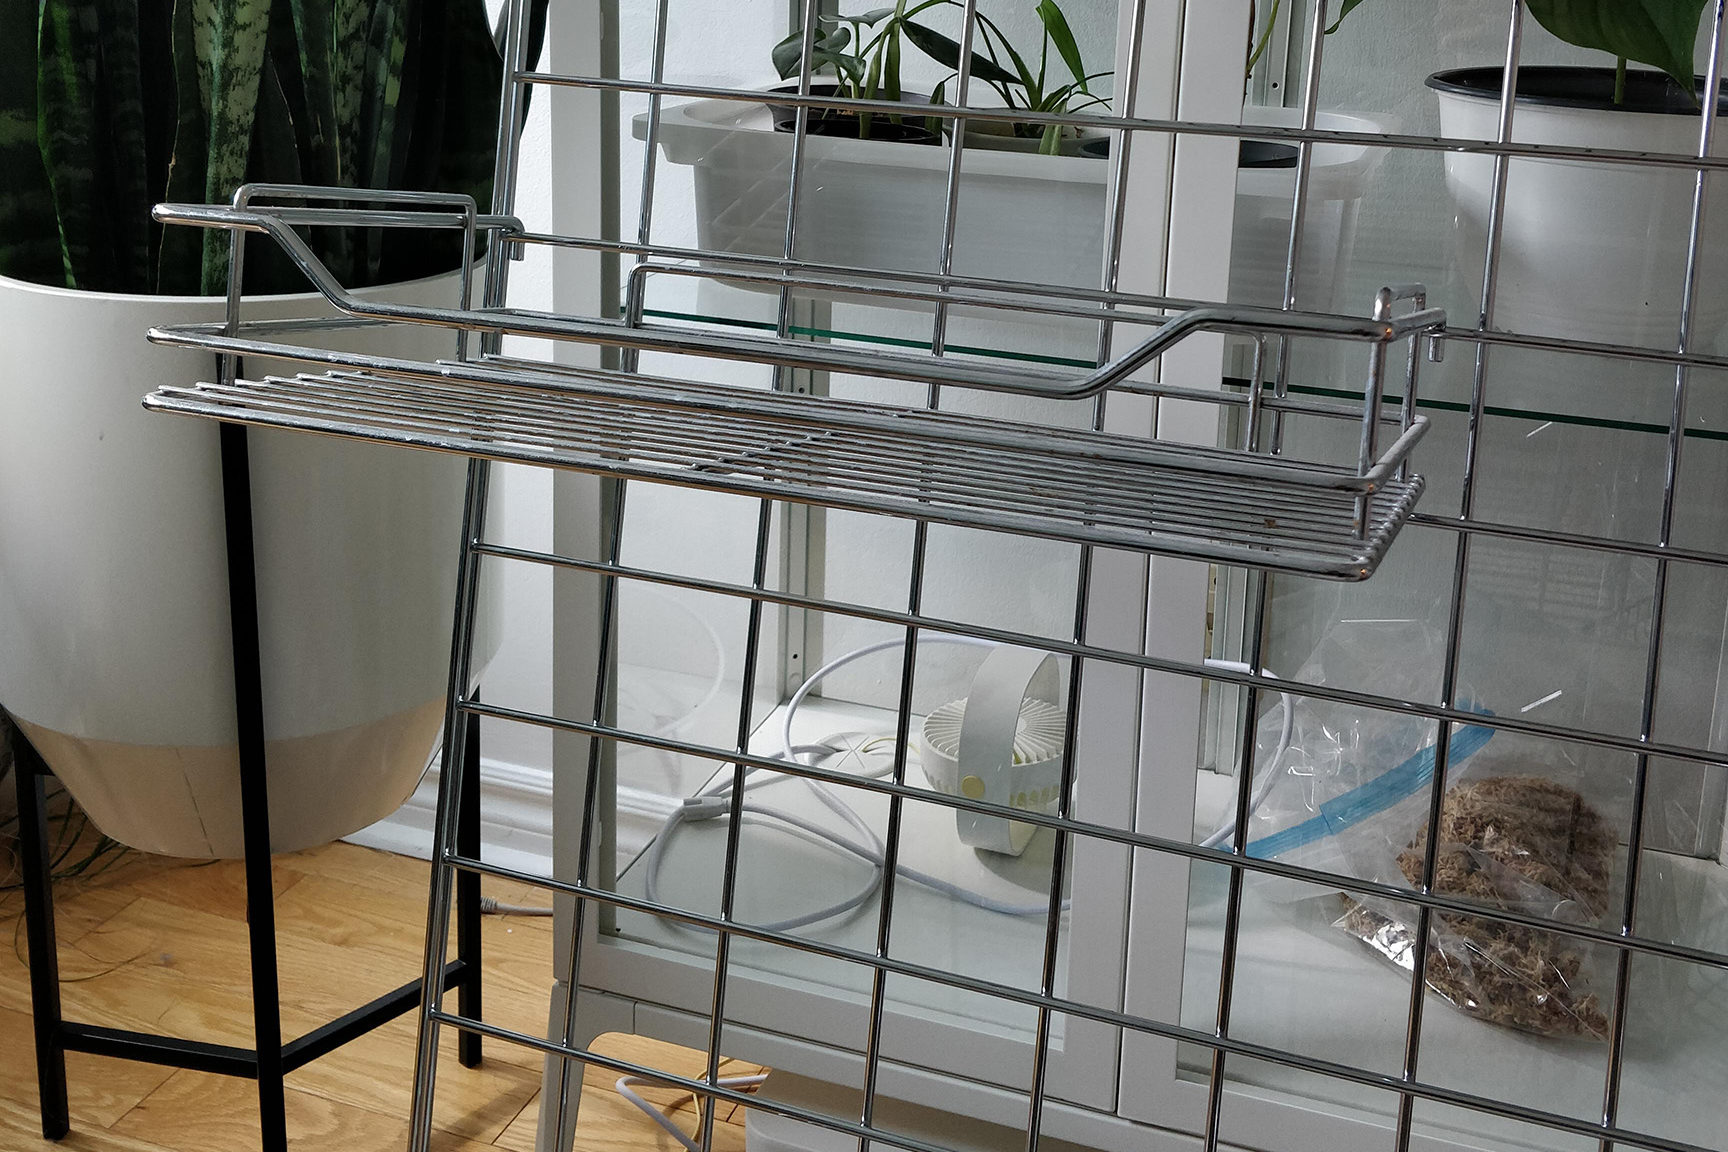
Mod 6: Shelving
There’s nothing wrong with using the glass shelves that come with the Milsbo cabinet but many people prefer some kind of modular shelving where you can move things around – plants come in all different heights.

Ikea has a nice board that you can buy moveable shelves for but I was lucky to have this Gridwall panel just lying around, not being used since I moved apartments. It’s normally used in retail displays so it’s super sturdy but needs to be securely attached to the cabinet. Another option is to buy the white wire shelving (usually for closets) and have it cut to the width of the cabinet and secured with L-brackets and zip ties.
I used some “L” brackets with zip ties to hold the Gridwall and the brackets were screwed into the wooden beam. Additional support was provided by zip ties mounted to the rear central post, which normally has screws to mount the glass shelf supports.
I also happened to find two of these Gridwall-compatible wire shelves at a clearance sale at Lee Valley (in-store) but I haven’t been able to find these exact ones elsewhere online. There are many alternatives compatible with Gridwall panels.
Products:
Gridwall Panel – [US] [CAN] I’m using a chrome 2’x4′ sized panel.
Gridwall Wire Basket – [US] [CAN] These aren’t the exact ones I have but they’ll work on the Gridwall panel.
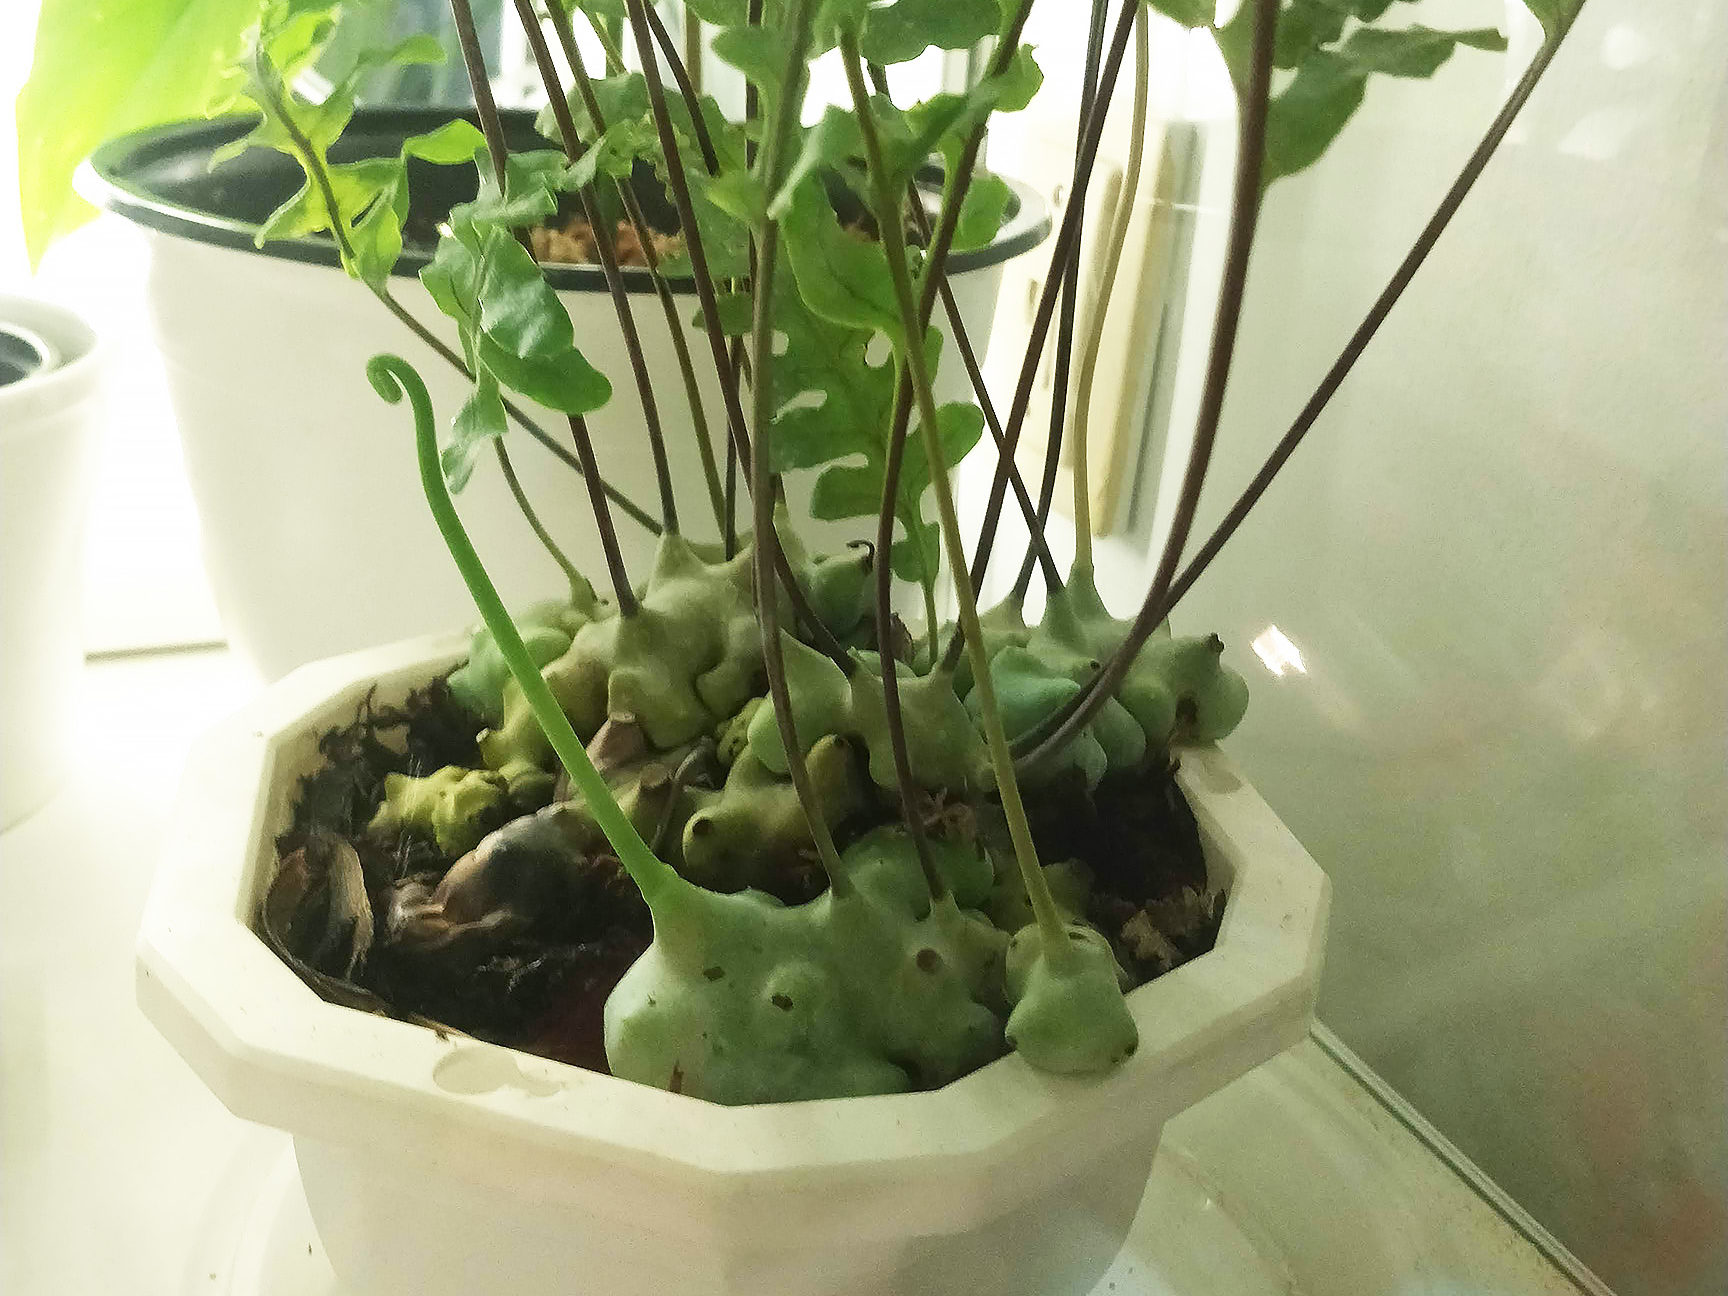
New Growth After 1 Month
That’s all for Phase 1 of the Ikea Greenhouse Cabinet project. After one month of using it, I’ve seen excellent progress on the plants.

Hope you found this helpful! Stay tuned for updates on my Instagram feed.
Having trouble with a plant? Interested in getting some personalized plant advice? Let me have a look – HERE.