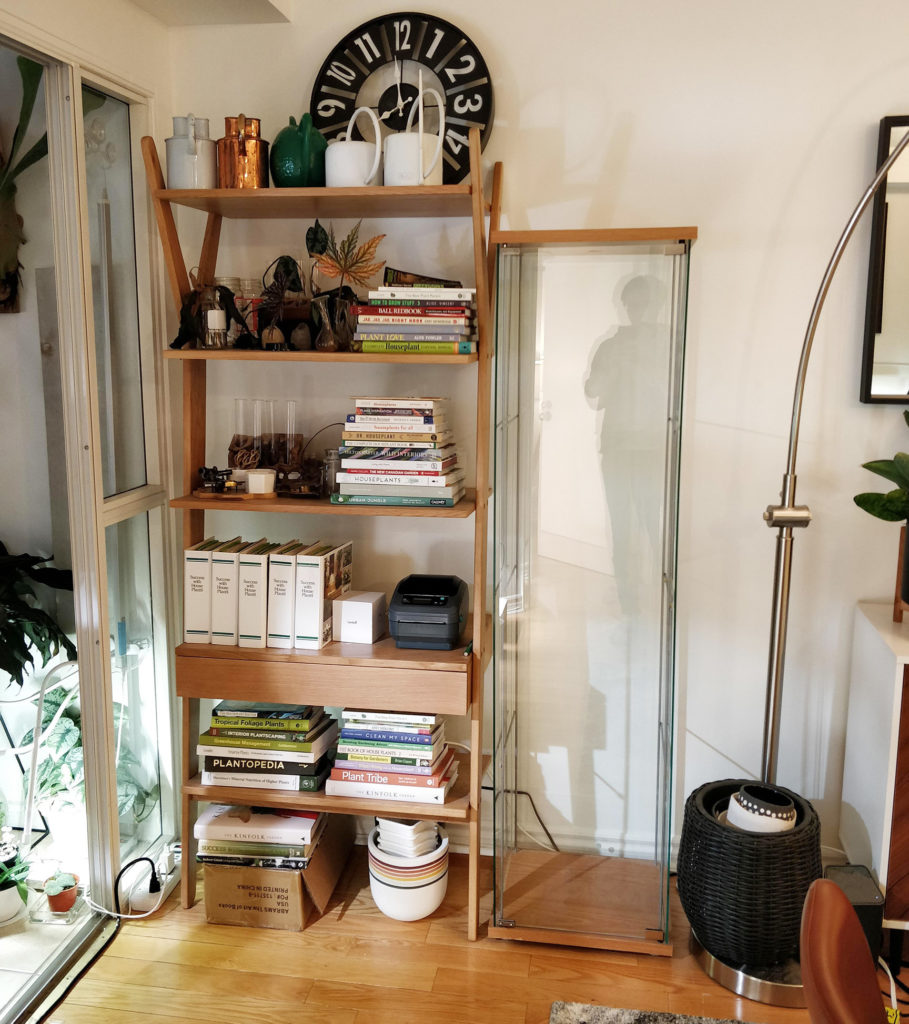
Just as I was running out of space in my first Ikea Greenhouse Cabinet (Milsbo), I stumbled upon a gently used Detolf display cabinet FREE for the taking in my apartment’s garbage disposal room!
Disclaimer: this article contains affiliate links that help to support House Plant Journal content ~ Thank You!
Product Summary (links where applicable):
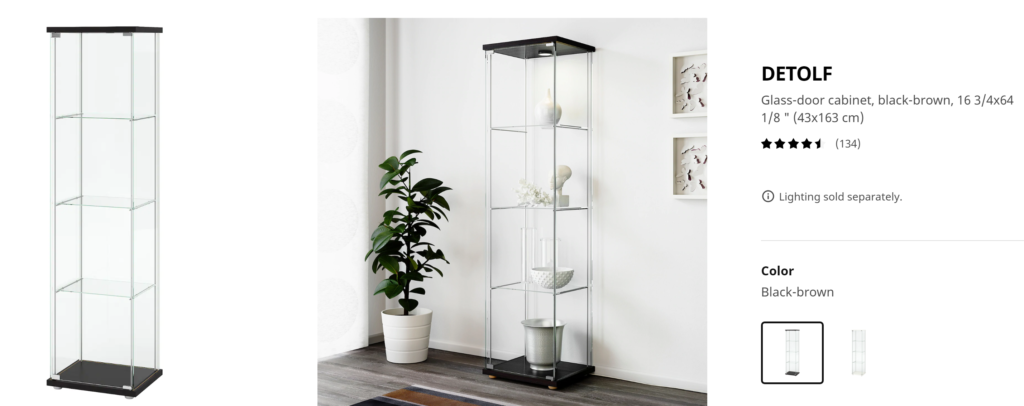
Ikea: DETOLF display cabinet
LENOX Tools Hole Saw, Bi-Metal, Speed Slot, Arbored, 2-3/8-Inch
White Cable Grommet
Timer Power Bar by Zoo Med (I like the green one!)
Cable Management Box with Bamboo Lid
Govee Thermometer and Hygrometer
Foam tape (1/4″ thick)
LED Grow Light 100W
SmartDevil Mini USB Fan
USB Adapter (North American plug)
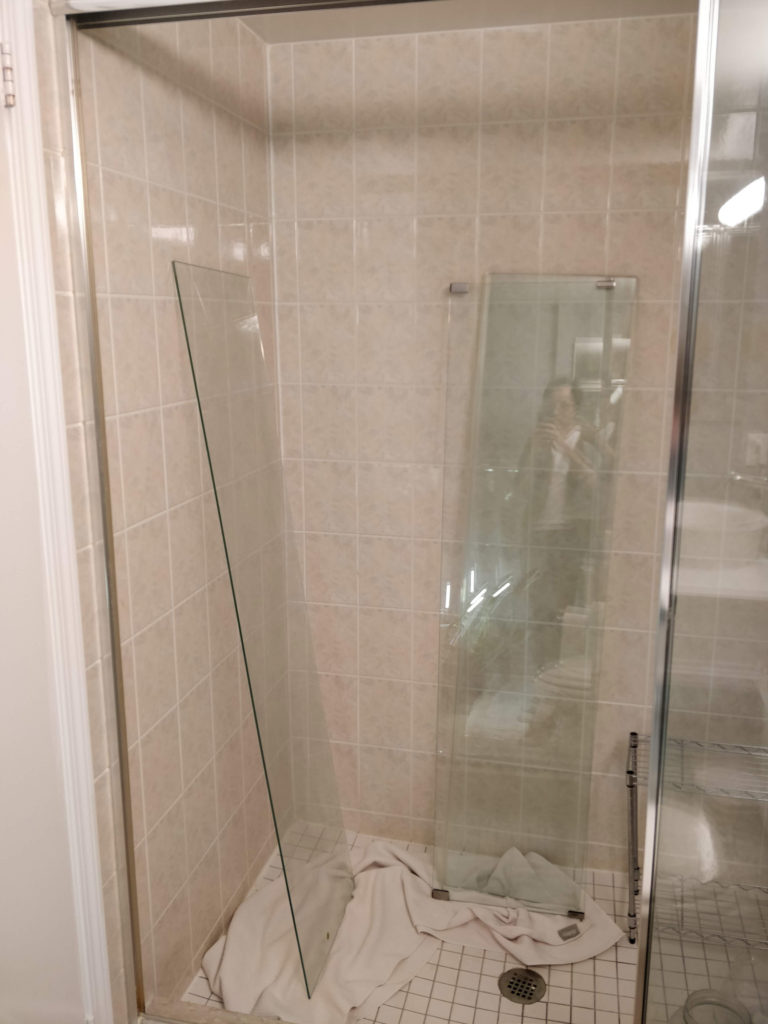
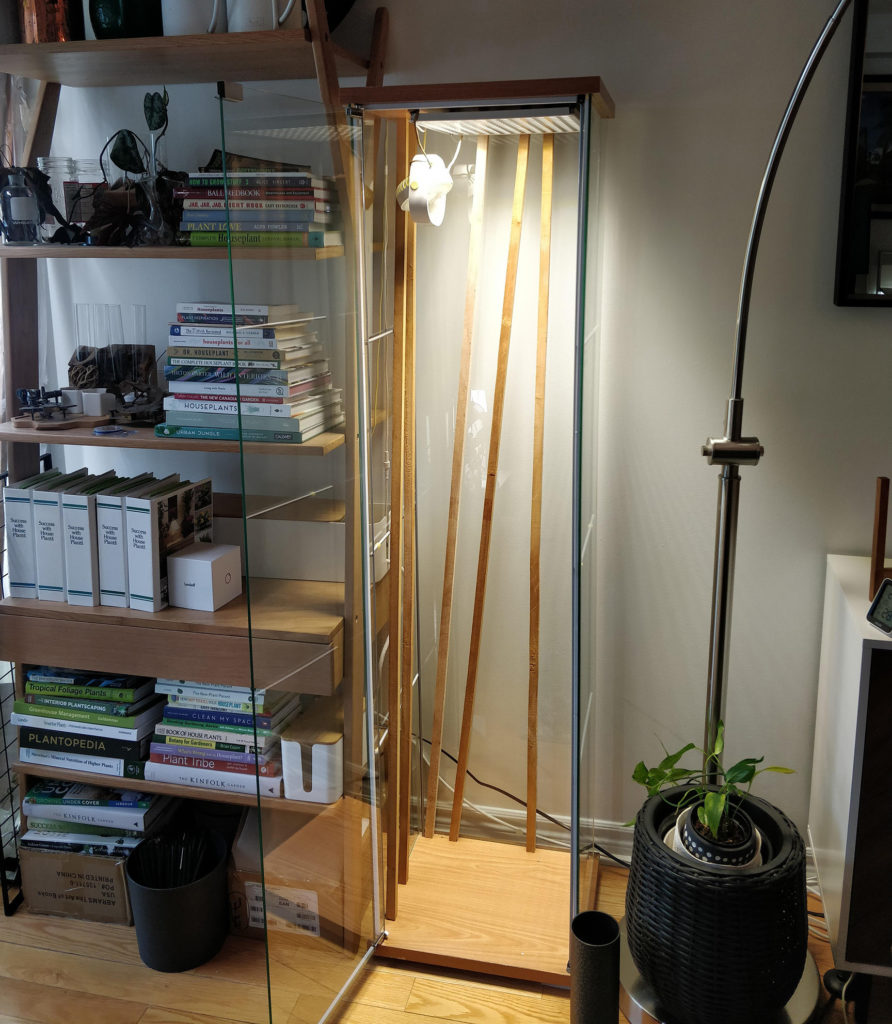
My lucky day: a FREE cabinet!
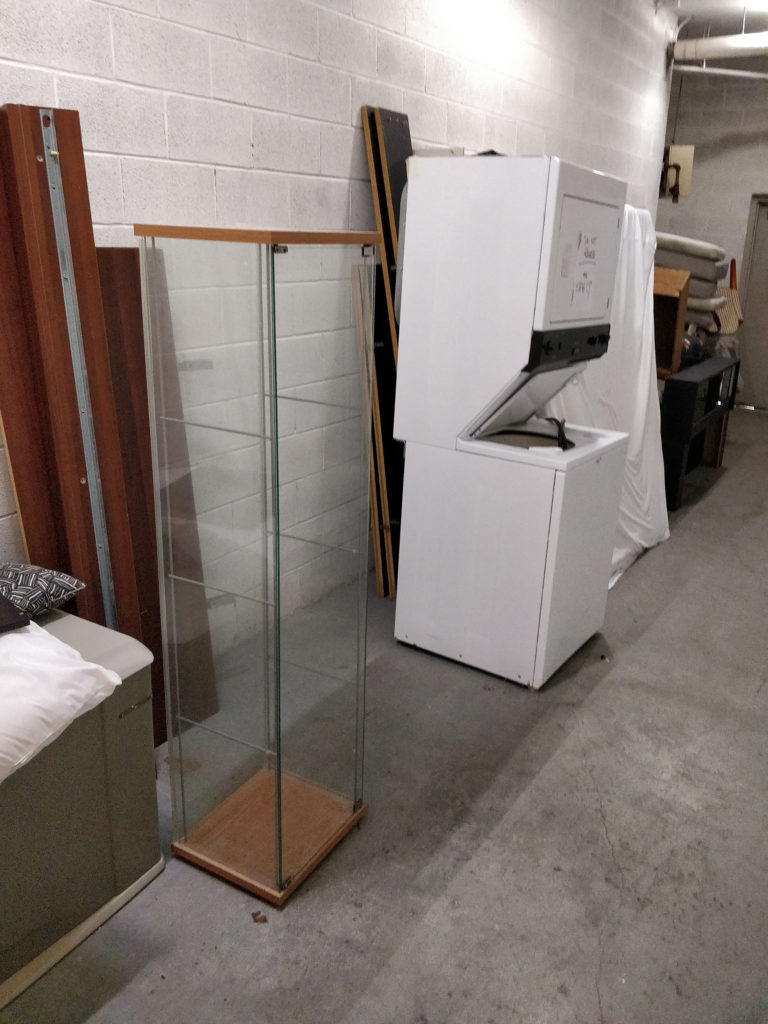
This is an older Detolf display cabinet since the top and bottom pieces are stained wood while the current version is either white or black:
I started by giving the whole unit a good cleaning: scrubbing down the super dusty wood pieces and generously wiping the glass with an appropriate cleaner.

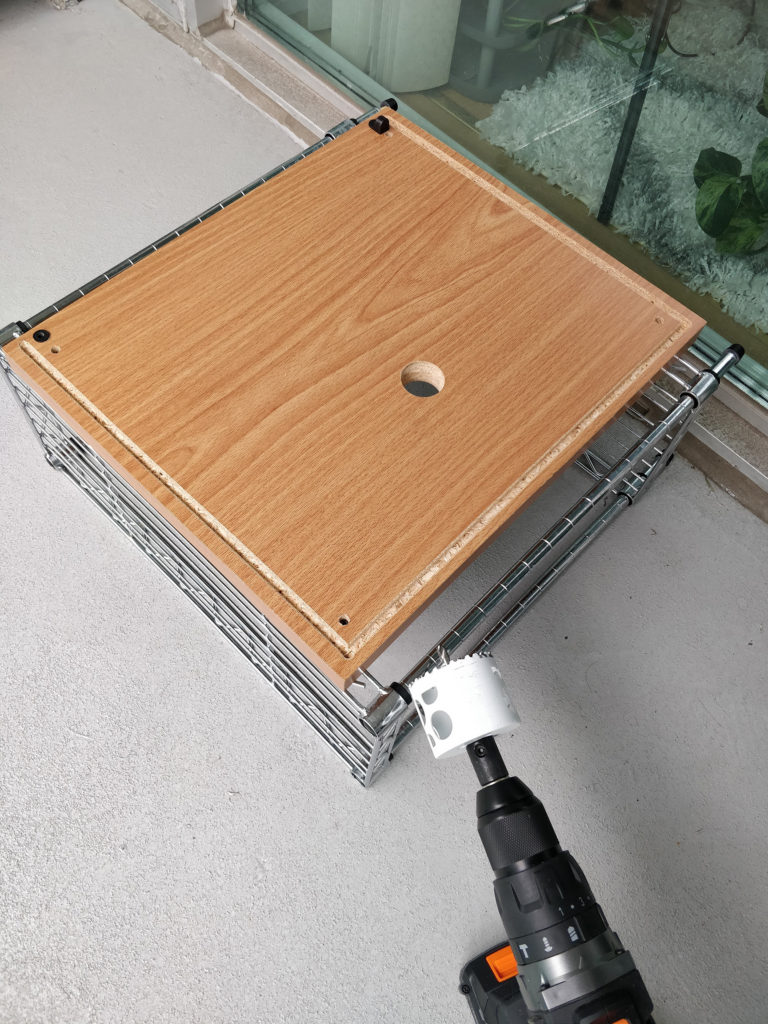
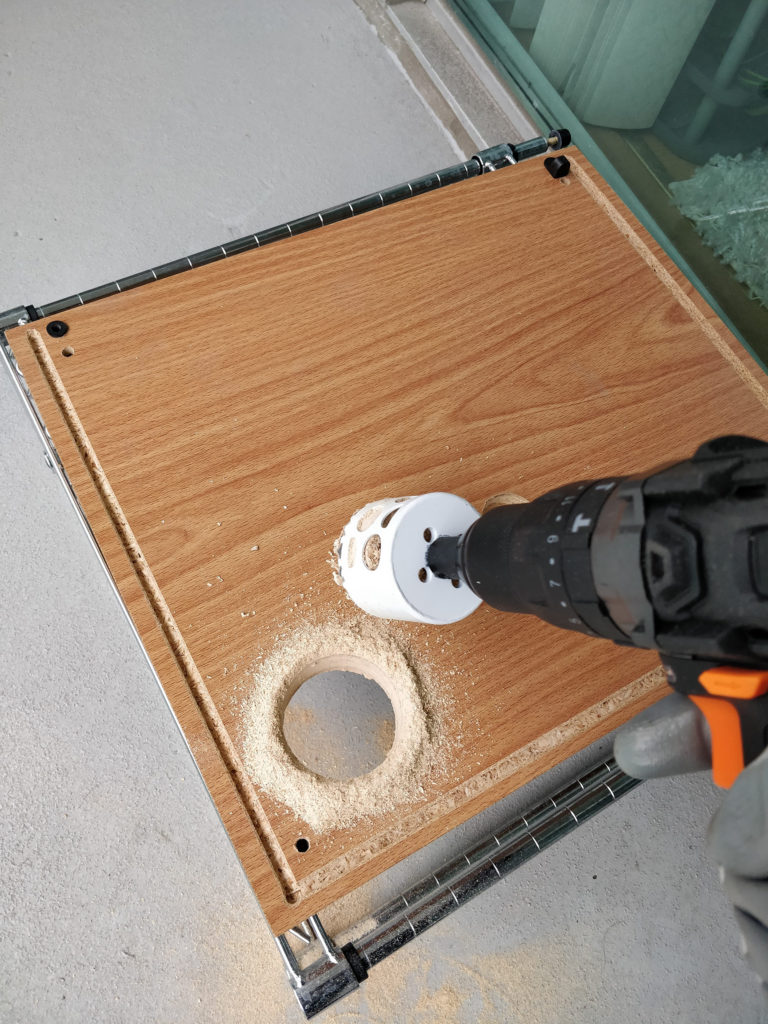
For this cabinet, I decided I would run the cables out of the top of the cabinet. Although there was already a small hole for the cabinet lighting, I wanted a larger one to ensure the wires for both the LED light and the fan would fit.
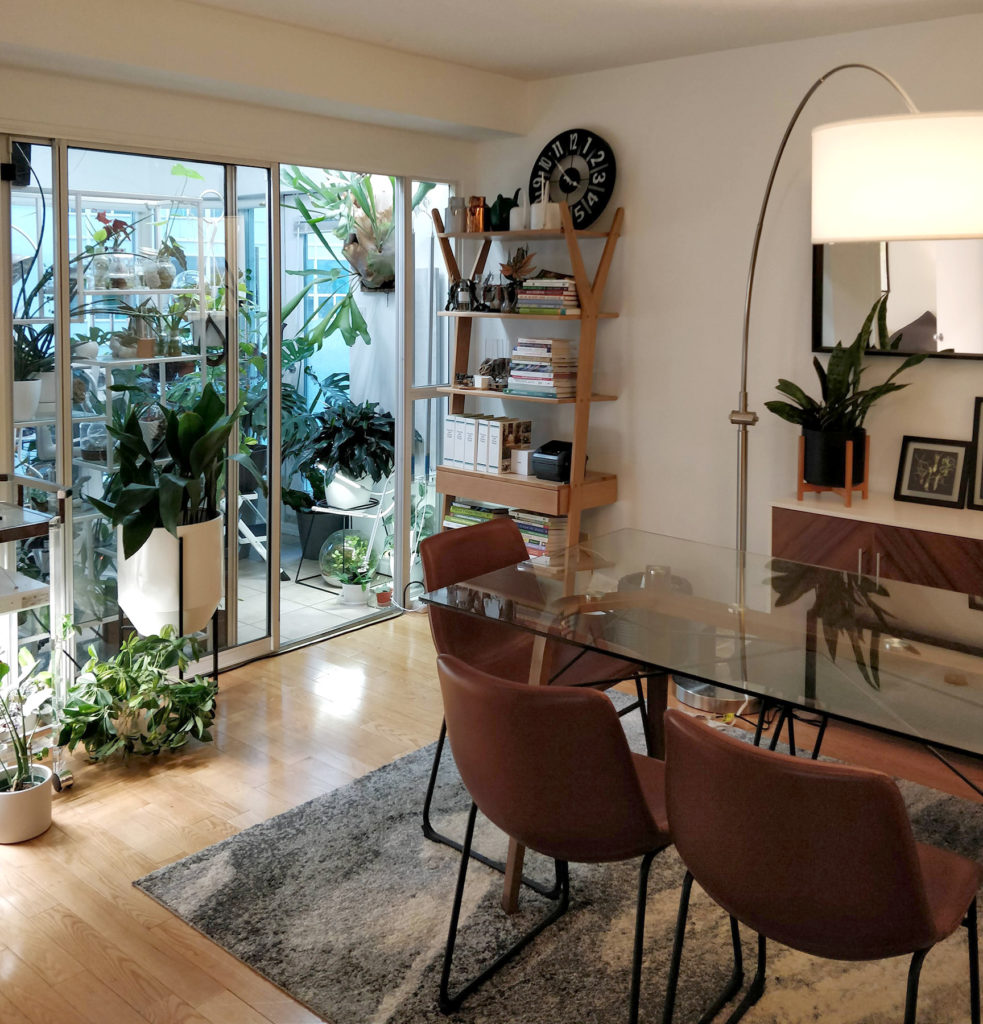
I’m actually glad I found the older version of the Detolf cabinet with the wooden pieces since they fit in perfectly beside my wood shelf by Article.
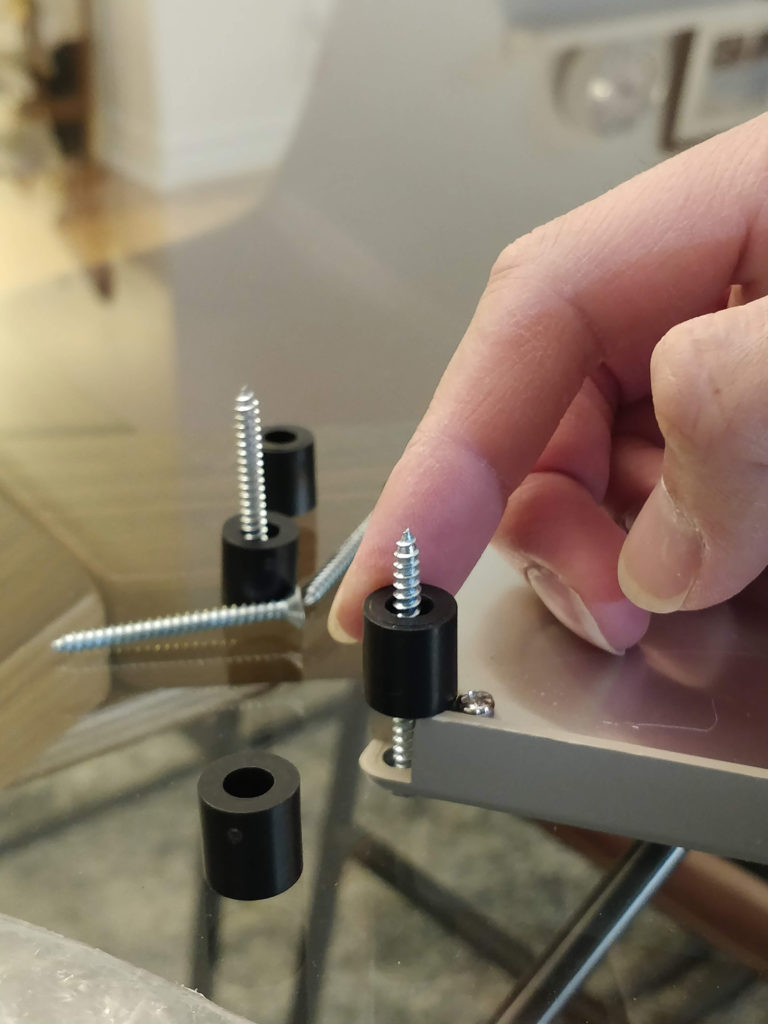
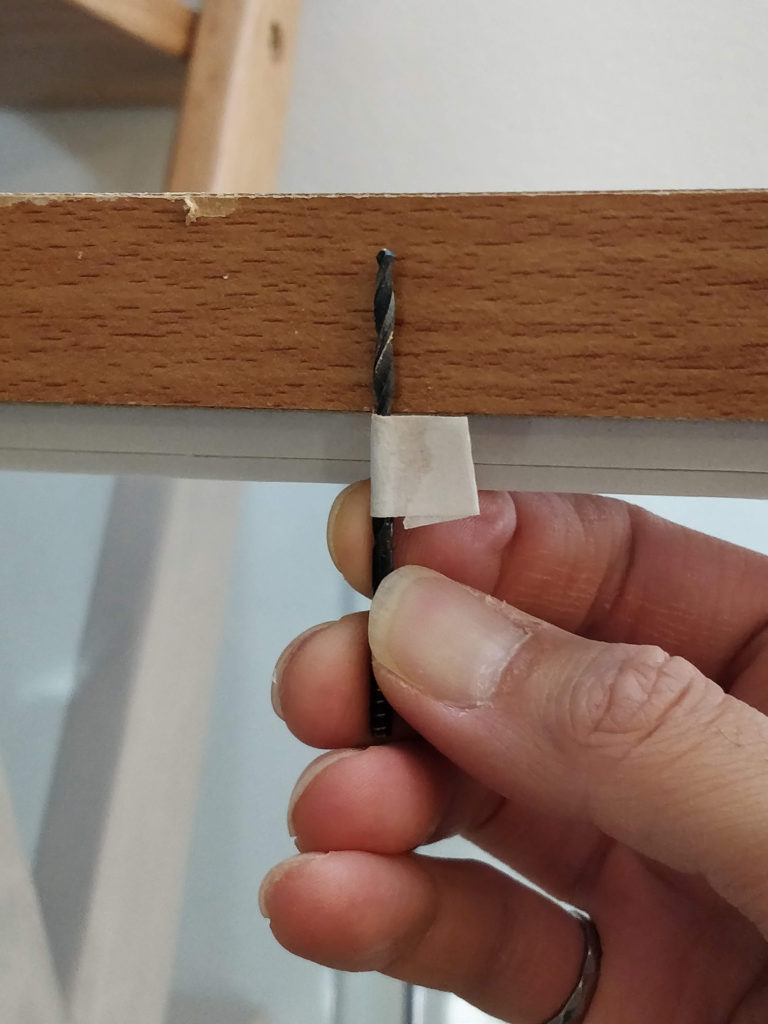
I found a bunch of long screws and plastic spacers to use behind the grow light panel – it already has holes on the 4 corners. By using a piece of masking tape on my drill bit, I made sure not to drill the pilot holes through the top side of the wood.
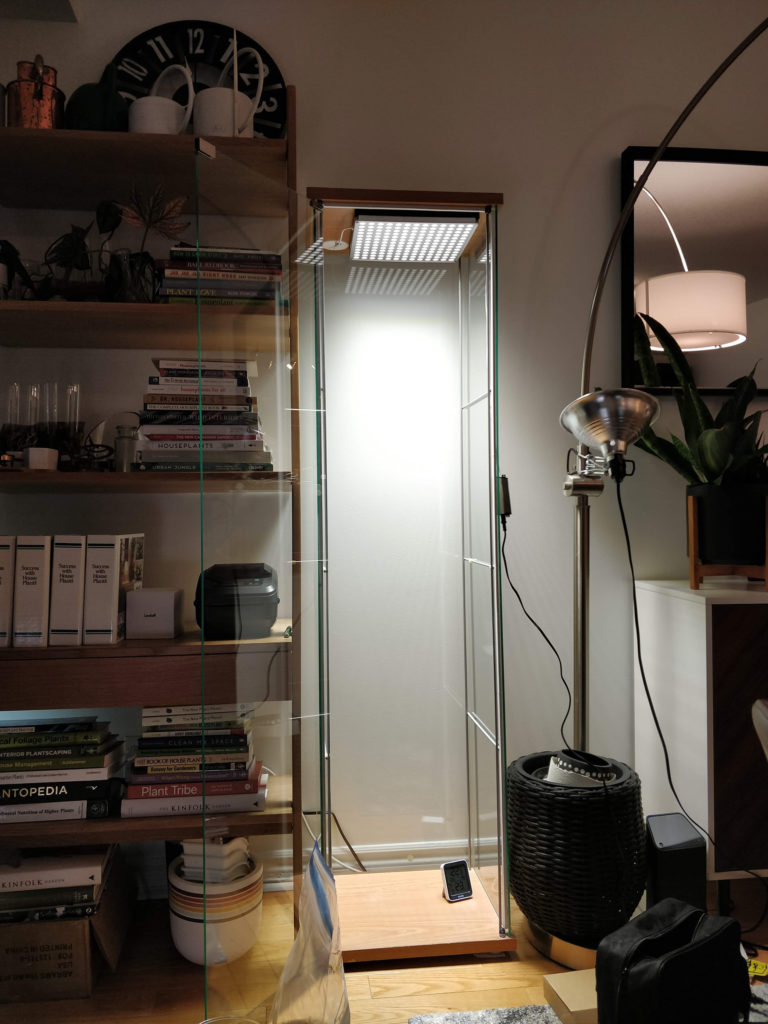
Grow light panel secured!
When I found the cabinet, the shelves were missing – but that didn’t matter since I wasn’t planning on using the glass shelves anyway. I wanted to use a few wooden stakes for vining plants to climb up. I could also use the existing metal bars to suspend smaller plants.
The wood stakes, cut at slightly different lengths so they would fit in at different angles. I secured them by screwing a long wood screw through the top piece.
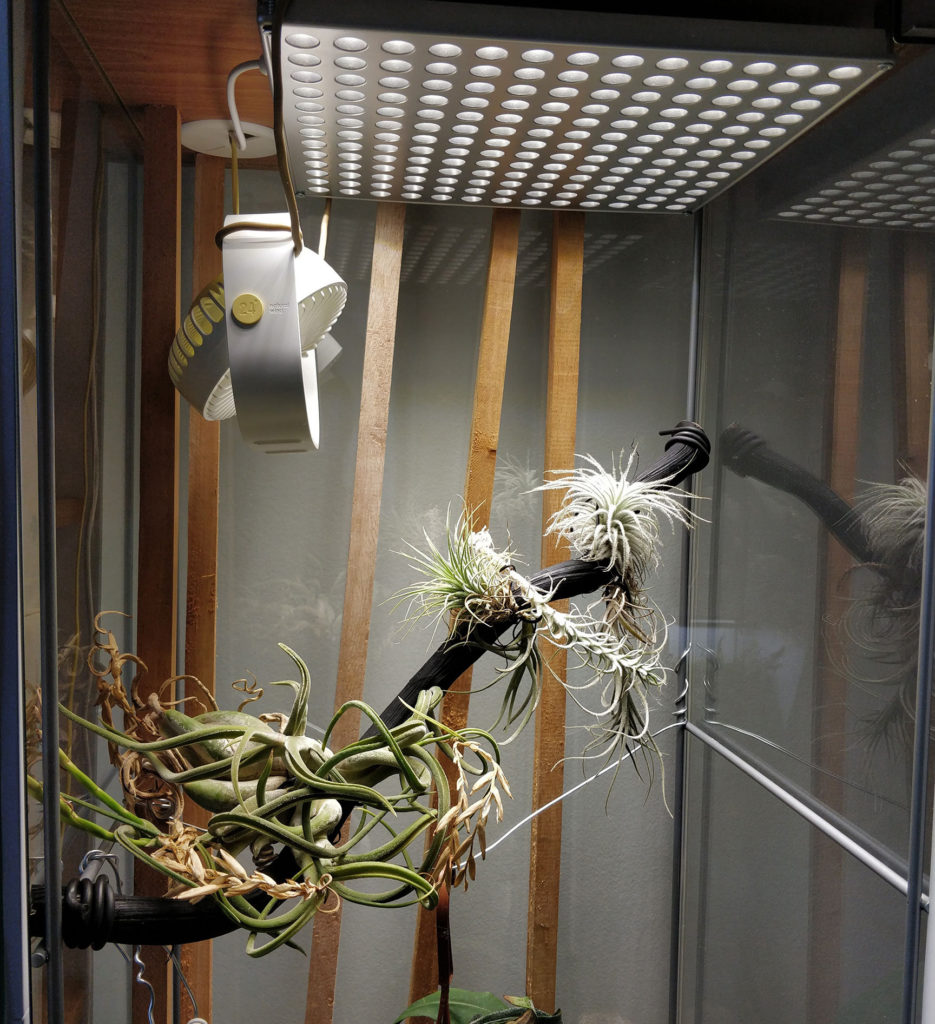
The mini USB fan was suspended from the screws where the grow light connects to the top piece.
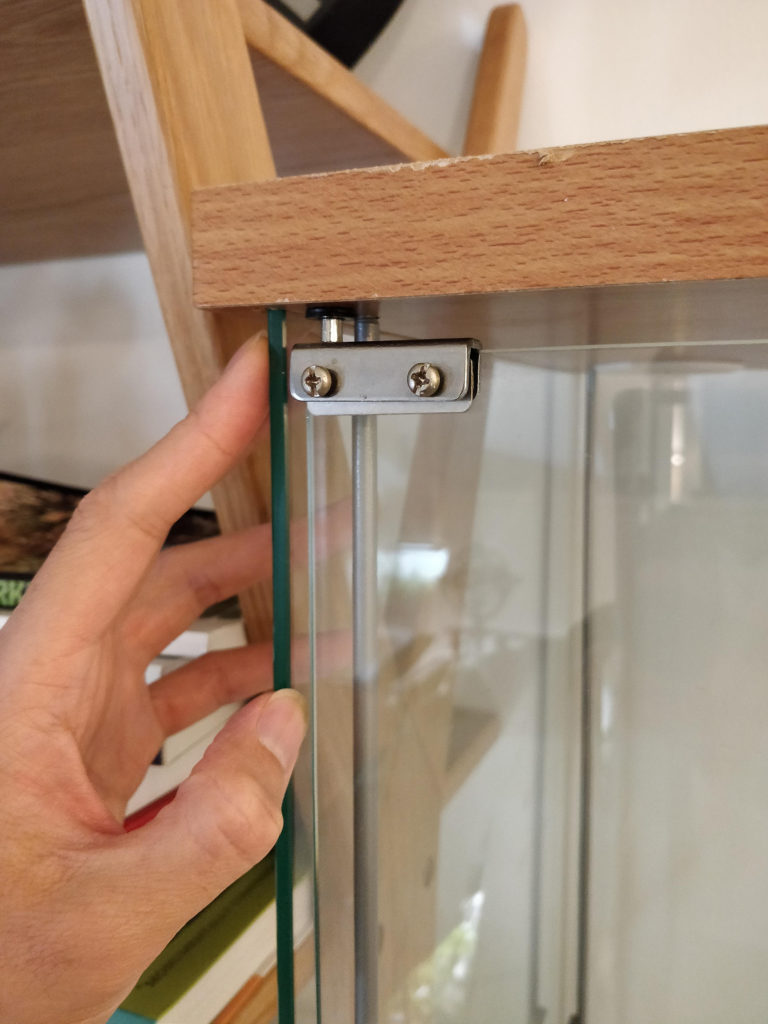
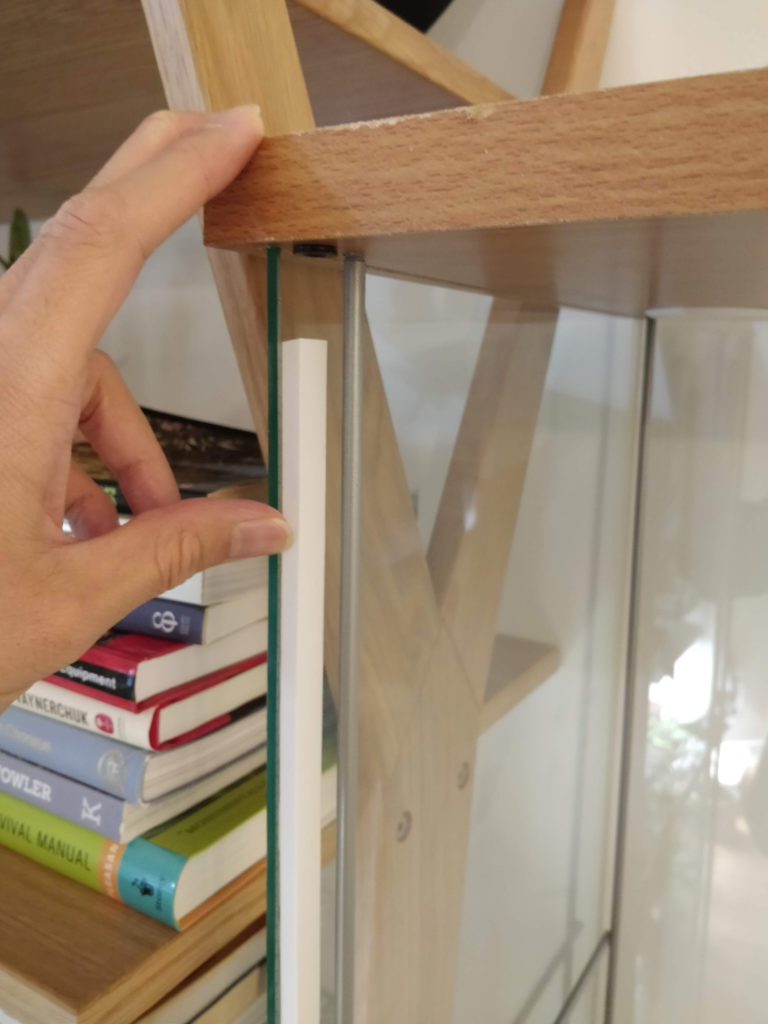
I used different widths of foam tape to better seal the gaps around the door. As I also noticed with the Milsbo cabinet, if you do a good enough job sealing the gaps, the humidity can stay high enough with NO need for a humidifier!
Time to get the PLANTS into their new home!
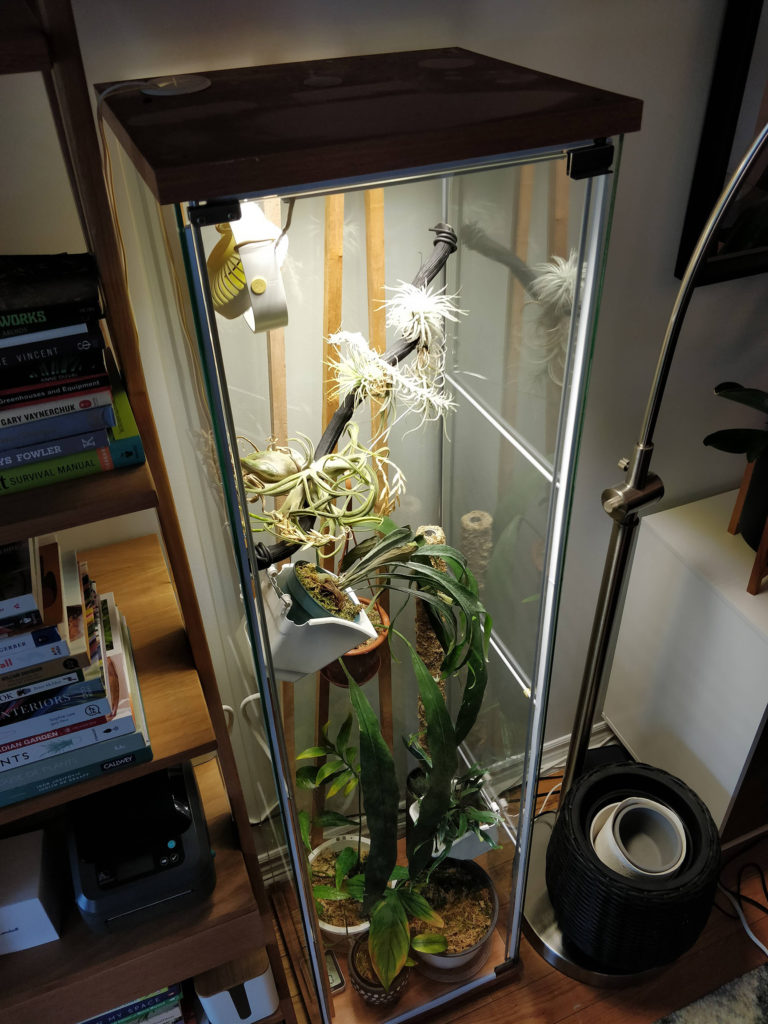
Near the top of the cabinet (with the highest light levels), I use some twist ties to gently secure a few Tillandsia (air plants) to a decorative wooden stick.
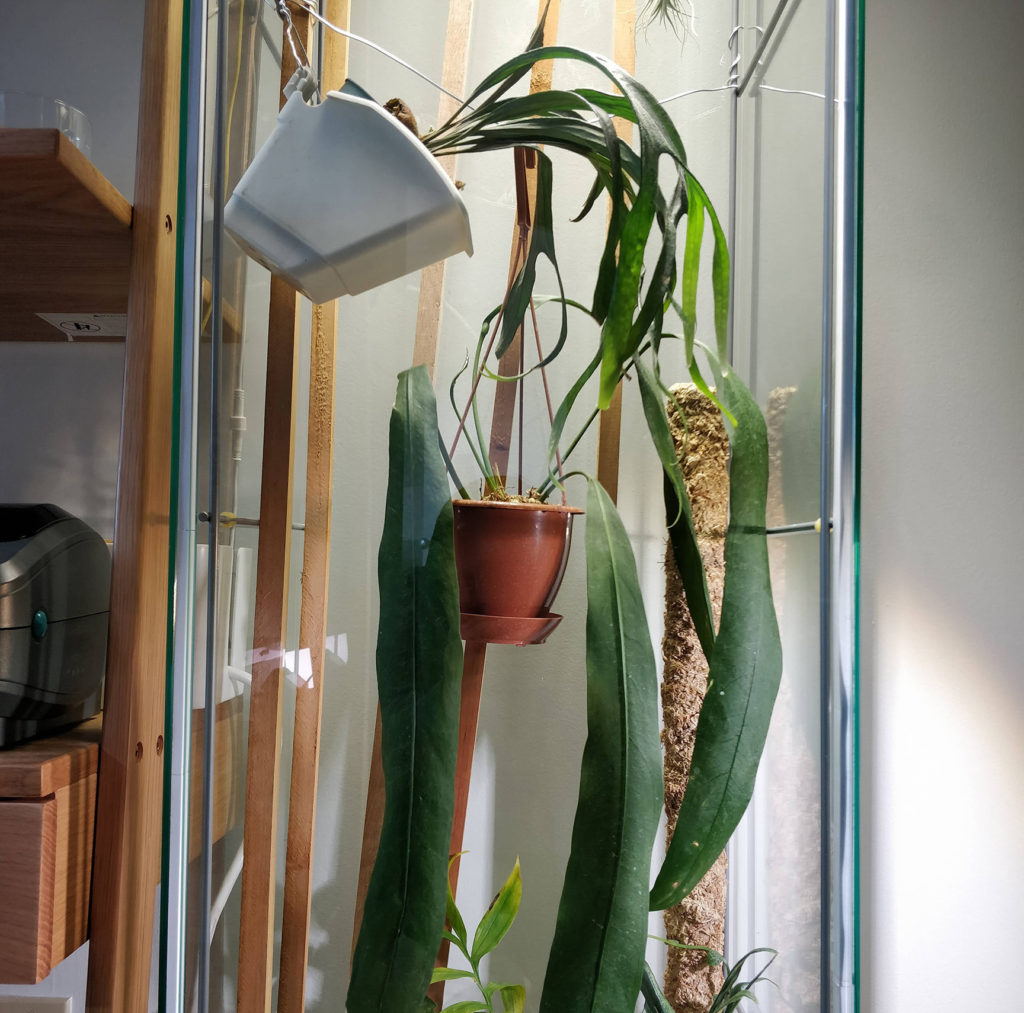
At the mid level: I put a Platycerium willinckii ‘Mt. Lewis’ and an Anthurium vittarifolium.
And on the ground floor, I put some climbers: Epipremnum pinnatum ‘Skeleton Key’ and Monstera subpinnata (yellowing but it has new growth points coming up).
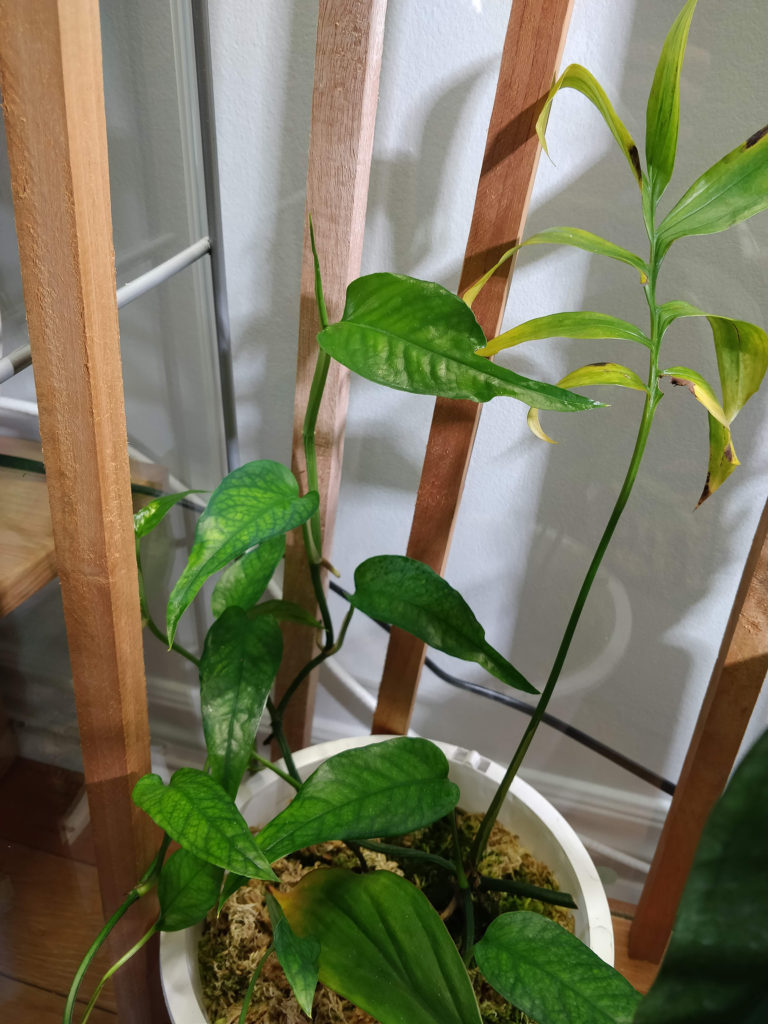
As these climb, I’ll probably use a twist tie to secure them to the wooden stakes – the plants can choose whichever stake they like!
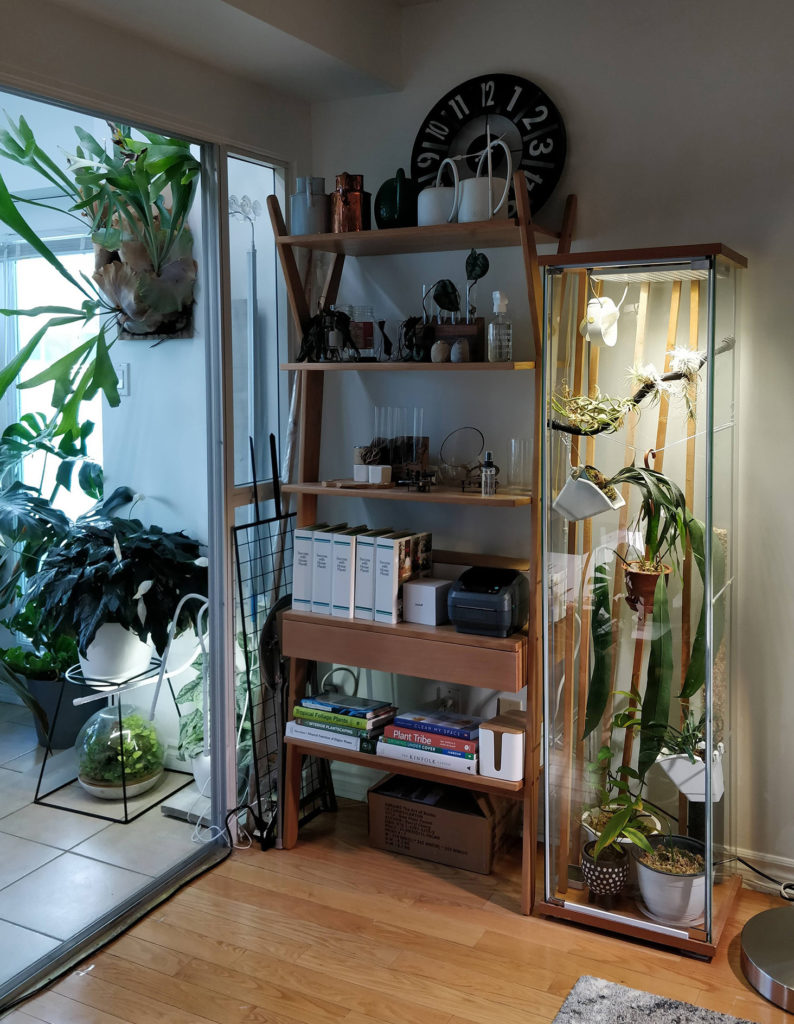
The cable box is very well hidden on the shelf, behind the set of binders and my label printer.
Ikea cabinets are regularly sold second hand so keep an eye out for them – increasing your grow spaces doesn’t need to be expensive!
See my Milsbo cabinet HERE.
Gain a profound understanding of houseplant care – learn the Essentials of Houseplant Enjoyment